
Introduction
AWS Glue is a powerful serverless ETL (Extract, Transform, Load) service that allows data engineers to process large-scale datasets efficiently. However, running AWS Glue jobs in the cloud can be time-consuming and costly during development and testing. Fortunately, AWS provides a way to run Glue locally using a Docker container, which allows you to develop and debug ETL scripts on your machine before deploying them to AWS.
In this guide, I will walk you through setting up AWS Glue locally using Docker, running PySpark scripts, and reading data from an S3 path. This step-by-step tutorial includes detailed instructions and troubleshooting tips.
Prerequisites
Before we begin, ensure you have the following installed on your system:
- Docker: Download and install from Docker’s official website.
- AWS CLI: Install and configure using
aws configure. - Python 3: Ensure you have Python installed for writing Glue ETL scripts.
- AWS Credentials: Your machine must have valid AWS credentials stored in
~/.aws/credentialsor set via environment variables.
First, you have to Start Docker Desktop in your Windows OS.
Set AWS Profile , AWS Region , and Jupyter Workspace Location.
$env:PROFILE_NAME="<your_profile_name>"
  $env:AWS_REGION ="eu-central-1"
$env:JUPYTER_WORKSPACE_LOCATION =Get-Location 
Step 1: Pull the AWS Glue Docker Image

First, you need to pull the AWS Glue Docker image that includes all dependencies for running Glue locally:
docker pull amazon/aws-glue-libs:glue_libs_4.0.0_image_01This will download the latest AWS Glue 4.0 image, which supports Python 3.10 and Apache Spark 3.3.

Step 2: Run the AWS Glue Container

Start the Glue Docker container with the following command:
docker run -it -v ~/.aws:/home/glue_user/.aws \
-v $JUPYTER_WORKSPACE_LOCATION:/home/glue_user/workspace/jupyter_workspace/ \
-e AWS_PROFILE=$PROFILE_NAME -e DISABLE_SSL=true --rm \
-p 4040:4040 -p 18080:18080 -p 8998:8998 -p 8888:8888 \
--name glue_jupyter_lab amazon/aws-glue-libs:glue_libs_4.0.0_image_01 \
/home/glue_user/jupyter/jupyter_start.sh
Breaking Down the Command:
-v ~/.aws:/home/glue_user/.aws→ Mounts your AWS credentials into the container.-v $JUPYTER_WORKSPACE_LOCATION:/home/glue_user/workspace/jupyter_workspace/→ Mounts your local workspace inside the container.-e AWS_PROFILE=$PROFILE_NAME→ Specifies the AWS profile to use.-p 4040:4040 -p 18080:18080 -p 8998:8998 -p 8888:8888→ Maps required ports for Spark and Jupyter Notebook.
Once the container starts, you should see the Jupyter Notebook server running. You can access it via:
http://localhost:8888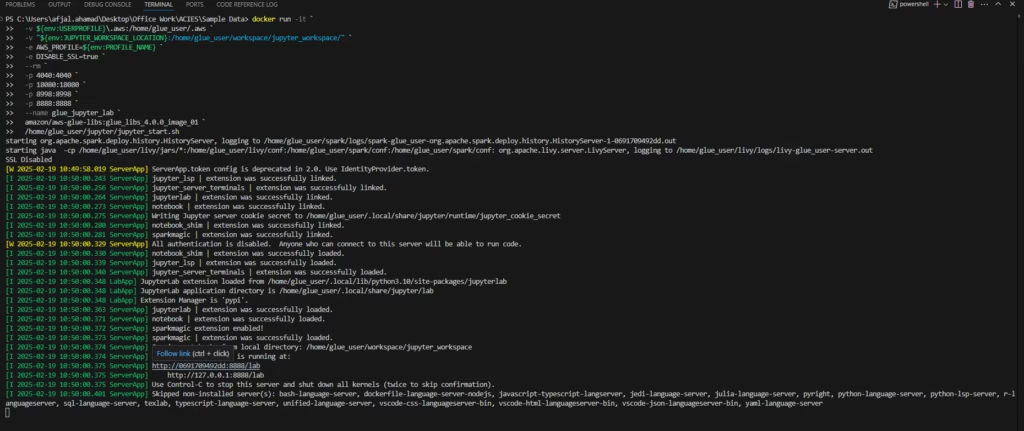
Step 3: Running a PySpark Glue Script Locally
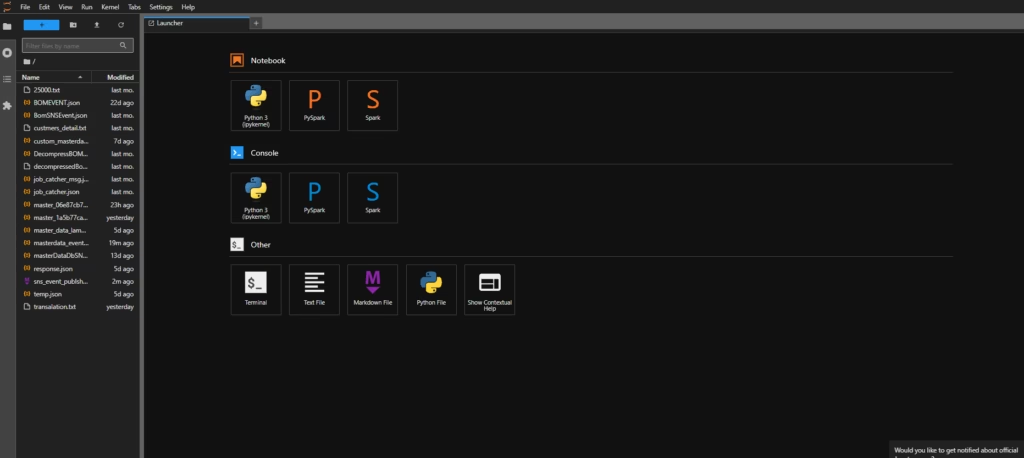
Now that the container is running, you can execute AWS Glue PySpark scripts locally.
Choose pyspark from aws from below options:
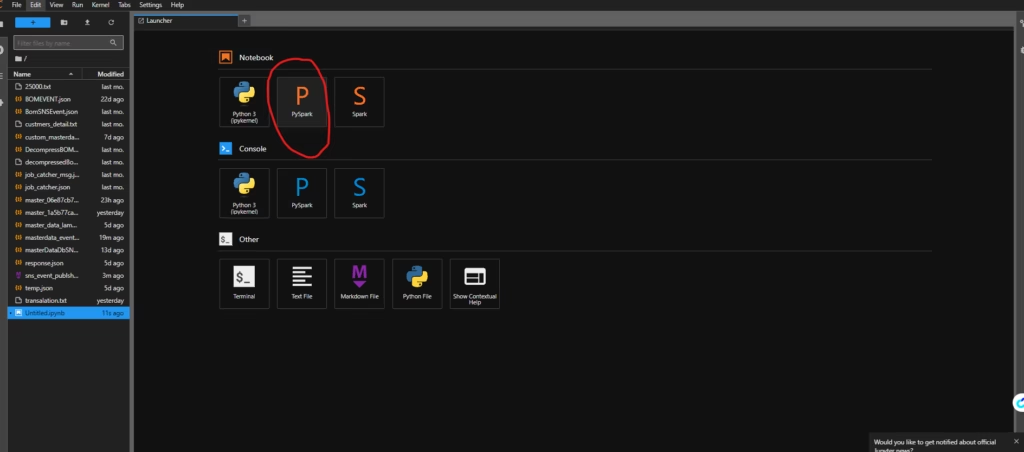
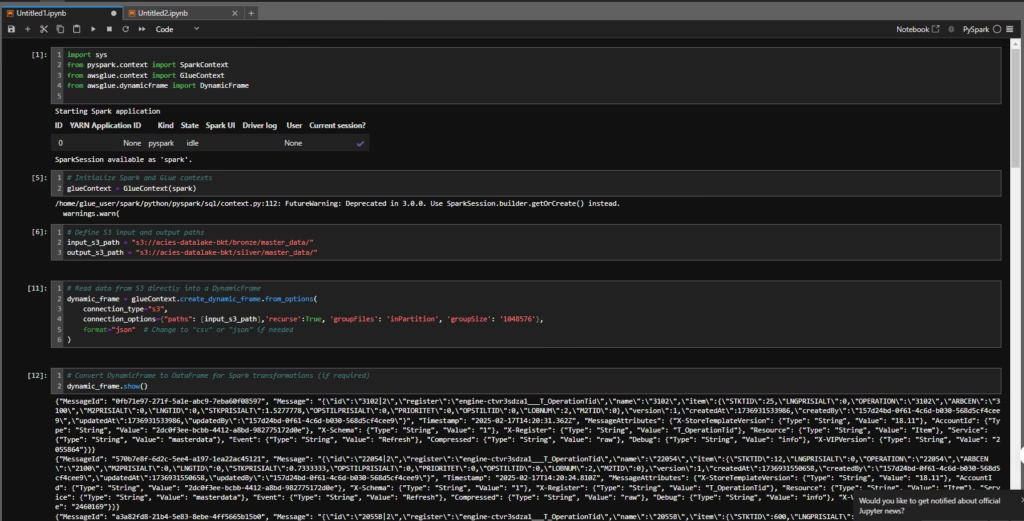
Create a new Python script glue_etl.py and add the following code:
import sys
from pyspark.context import SparkContext
from awsglue.context import GlueContext
from awsglue.dynamicframe import DynamicFrame

# Initialize GlueContext
sc = SparkContext()
glueContext = GlueContext(sc)
spark = glueContext.spark_session

# Define S3 input and output paths
input_s3_path = "s3://your-source-bucket/raw-data/"
output_s3_path = "s3://your-target-bucket/processed-data/"

# Read data from S3
dynamic_frame = glueContext.create_dynamic_frame.from_options(
    connection_type="s3",
    connection_options={"paths": [input_s3_path]},
    format="parquet"  # Change to "csv" or "json" if needed
)

# Convert to DataFrame
df = dynamic_frame.toDF()

# Apply transformations
df_transformed = df.select("column1", "column2")

# Convert back to DynamicFrame
dynamic_frame_transformed = DynamicFrame.fromDF(df_transformed, glueContext)

# Write data to S3
glueContext.write_dynamic_frame.from_options(
    frame=dynamic_frame_transformed,
    connection_type="s3",
    connection_options={"path": output_s3_path},
    format="parquet"
)

print("Job completed successfully!")
Run the script inside the Glue container:
Step 4: Debugging & Troubleshooting
1. Checking the Logs
If you run into issues, check the logs inside the Glue container:
docker logs glue_jupyter_lab2. Entering the Glue Container
If you need to debug manually, enter the running container:
docker exec -it glue_jupyter_lab /bin/bash3. Verifying S3 Access
Make sure AWS credentials are correctly set by running:
aws s3 ls s3://your-source-bucket/Step 5: Stopping and Cleaning Up
Once you are done, stop and remove the container:
docker stop glue_jupyter_labTo remove unused images:
docker system prune -aConclusion
By following these steps, you can now run AWS Glue jobs locally using Docker, test your ETL scripts efficiently, and debug them before deploying to AWS. This approach not only speeds up development but also helps in reducing unnecessary AWS costs.
If you found this guide helpful, feel free to share it with your network! 🚀

