Introduction
Amazon Web Services (AWS) Command Line Interface (CLI) is a powerful tool for managing AWS services. With AWS CLI, you can control AWS resources programmatically, eliminating the need for repetitive manual tasks. This guide will walk you through setting up AWS CLI on a Windows machine, from creating an IAM user to configuring your CLI environment.
Why Use AWS CLI?
AWS CLI allows developers and administrators to:
- Manage AWS resources with commands.
- Automate workflows.
- Script infrastructure tasks efficiently.
Setting it up correctly ensures secure and seamless management of your AWS services.
Prerequisites
Before you begin, ensure the following:
- You have an AWS account.
- Administrative privileges on your Windows machine.
Step 1: Create an IAM User
To interact with AWS CLI, you’ll need an IAM user with appropriate permissions. Here’s how:
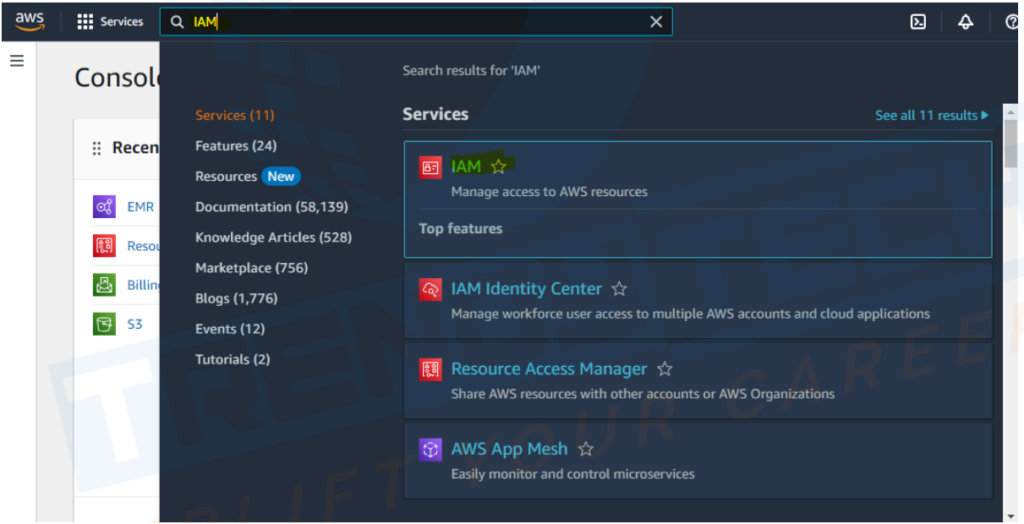
1. Access AWS Management Console:
Log in to your AWS Management Console and navigate to IAM (Identity and Access Management).
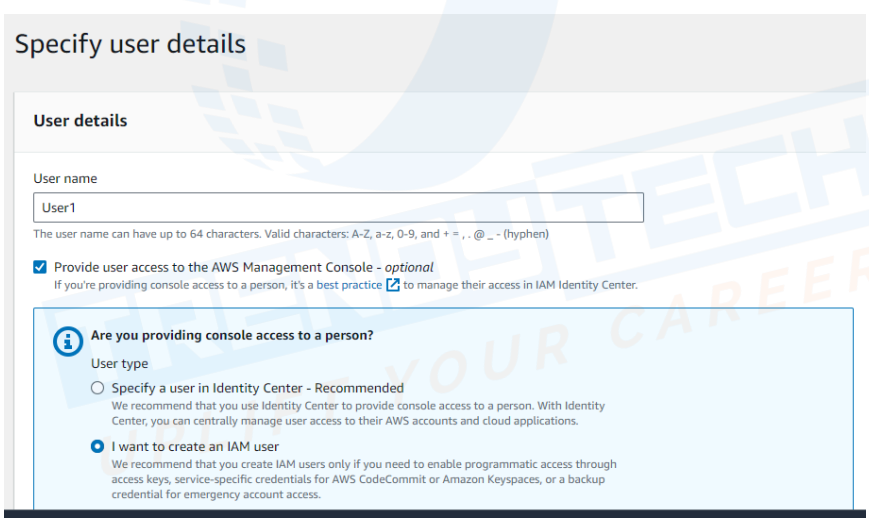
2. Create a New User:
- Select Users under Access Management.

- Click Add Users and assign a username.
3. Assign Permissions:
- Select Attach policies directly.
- Grant the AdministratorAccess policy.
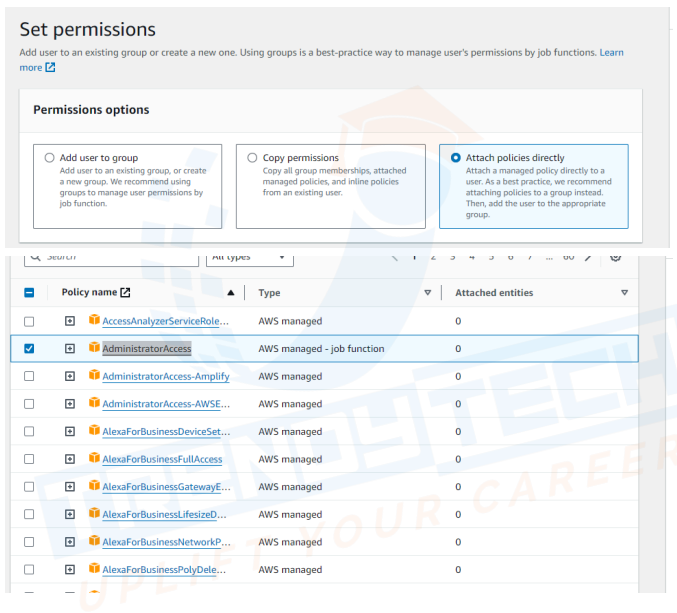
- Click Next, then Create User.
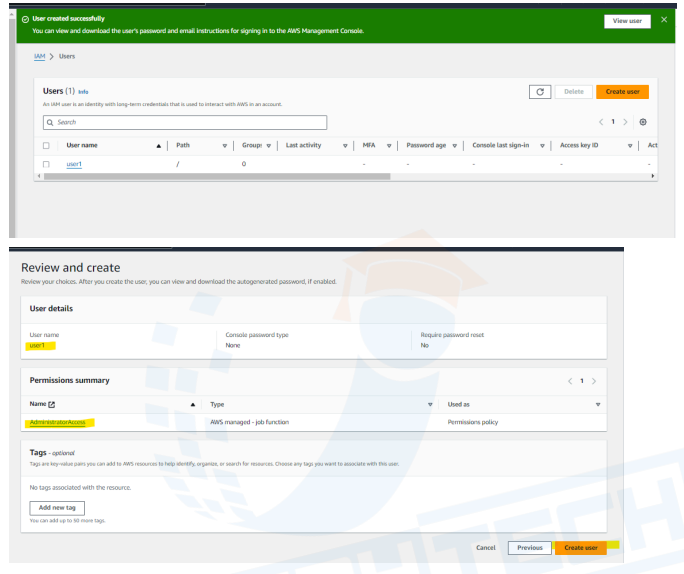
4. Copy IAM Login Credentials:
- Copy the 12-digit account ID for logging in.
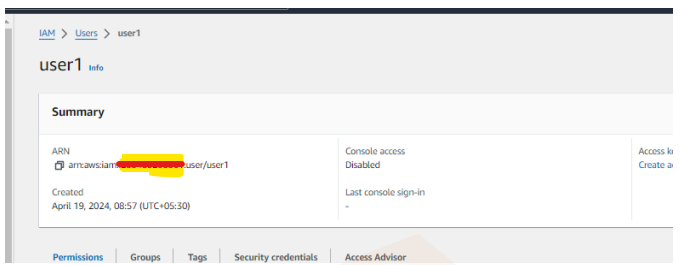
- Download the credentials or note them securely.
Step 2: Install AWS CLI on Windows
1. Download the Installer:
- Visit the AWS CLI V2 MSI installer for Windows link.
- Download the 64-bit MSI package.
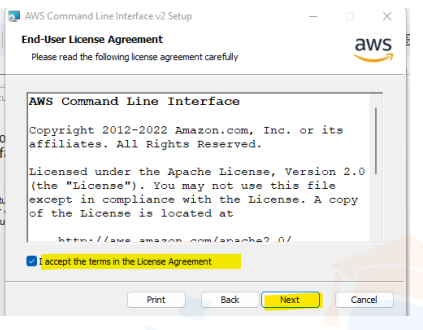
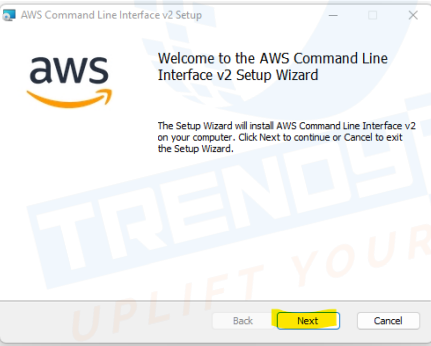
2. Run the Installer:
- Double-click the MSI file.
- Accept the license agreement and follow the installation prompts.
3. Verify the Installation:
- Open Command Prompt.
- Run the command
aws --version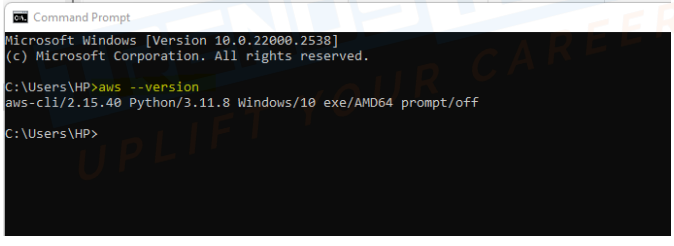
- If installed correctly, the version number will be displayed.
Step 3: Configure AWS CLI
Once installed, configure AWS CLI to use your IAM credentials.
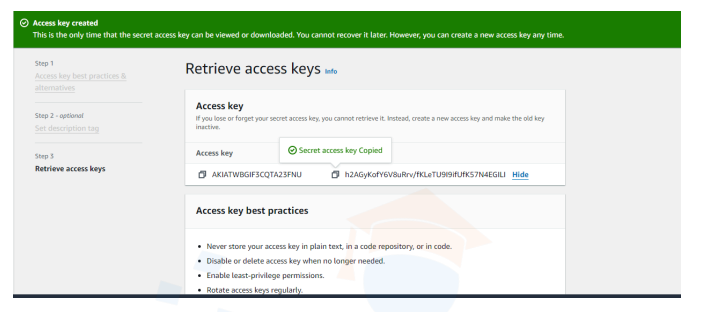
1. Generate Access Keys:
- Navigate to the IAM Users section in AWS Console.
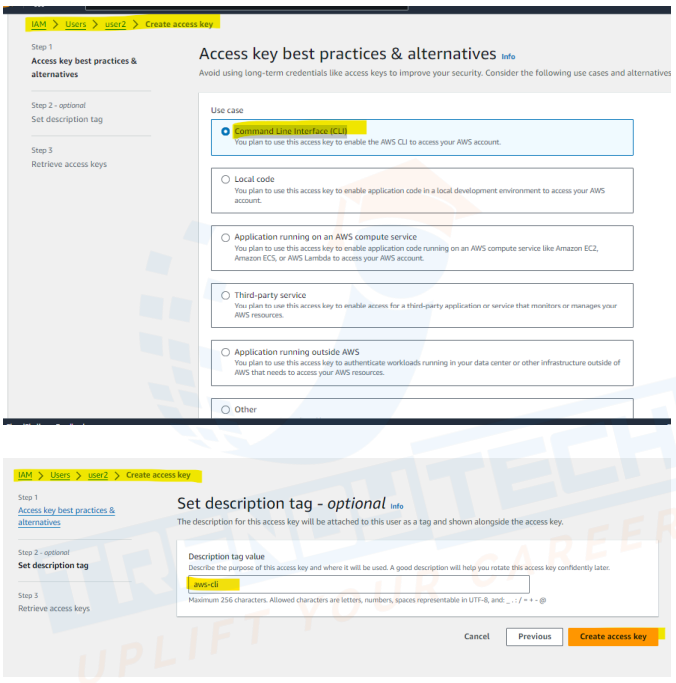
- Select your user and go to Security Credentials.
- Generate a new Access Key and securely save both the Access Key ID and Secret Access Key.
2. Configure AWS CLI:
- Open Command Prompt and run:
aws configure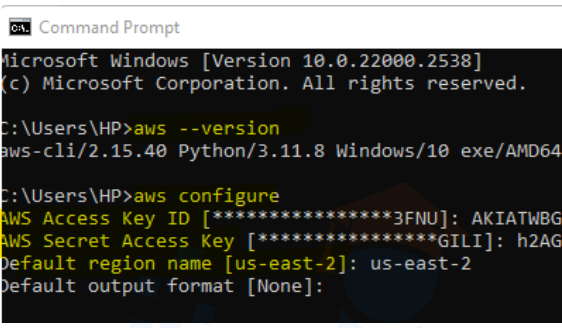
- Enter the following details:
- Access Key ID
- Secret Access Key
- Default region (e.g.,
us-east-1) - Output format (e.g.,
json)
Step 4: Test the Configuration
Test the setup by running a basic AWS CLI command, such as:
aws s3 lsIf configured correctly, this will list your S3 buckets.
With AWS CLI set up on your Windows machine, you can now efficiently manage AWS resources directly from your terminal. Always follow best practices for securing your IAM credentials and limit permissions to minimize security risks.
You might also interested in aws-sso-codecommit-access.