
Introduction
To host a website on Netlify, follow this straightforward guide to get your site up and running quickly. Netlify is a powerful platform that offers simple deployment and hosting solutions for static websites and web applications. This guide will help you navigate the process, making it accessible even for those new to web development.
Step 1: Prepare Your Project
- Set Up Your Project Structure:
- Ensure your website files are organized properly. For a simple static website, your project structure might look like this:
- Ensure your website files are organized properly. For a simple static website, your project structure might look like this:
/my-website├── /public (Static assets like images, fonts) ├── /src (Source files) ├── index.html (Main HTML file) ├── style.css (CSS file) └── script.js (JavaScript file)- Initialize a Git Repository (Optional):
- If you want to use version control, initialize a Git repository:
git init
- If you want to use version control, initialize a Git repository:
- Create a README File:
- Optionally, create a
README.mdfile to document your project.
- Optionally, create a
- Commit Your Changes (Optional):
- If using Git, add your files to the repository and commit them:
git add . git commit -m "Initial commit"
- If using Git, add your files to the repository and commit them:
Step 2: Create a Netlify Account
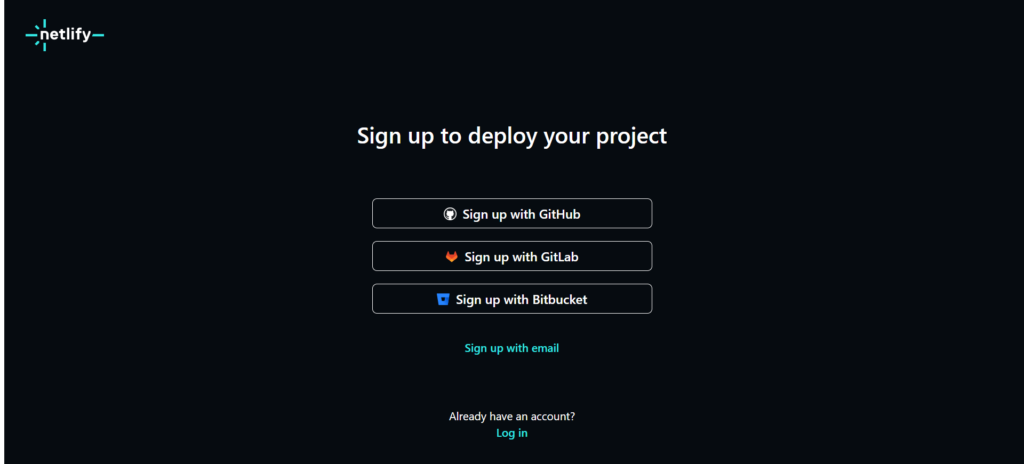
- Sign Up for Netlify:
- Go to Netlify and sign up for an account if you haven’t already. You can sign up using your email or connect through GitHub, GitLab, or Bitbucket
Step 3: Deploy Your Website
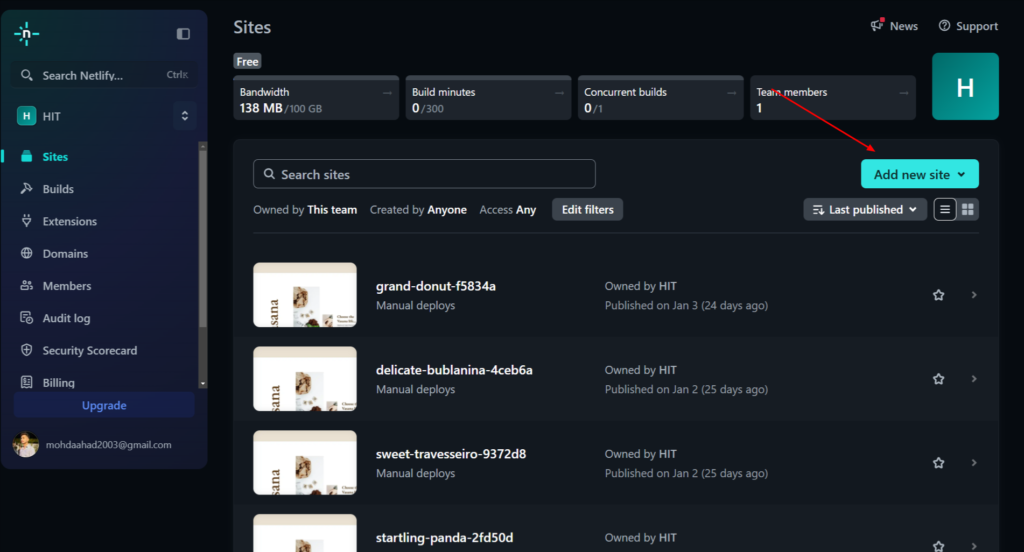
- Start a New Project:
- After logging in, click on the “Add new site” button on your Netlify dashboard.
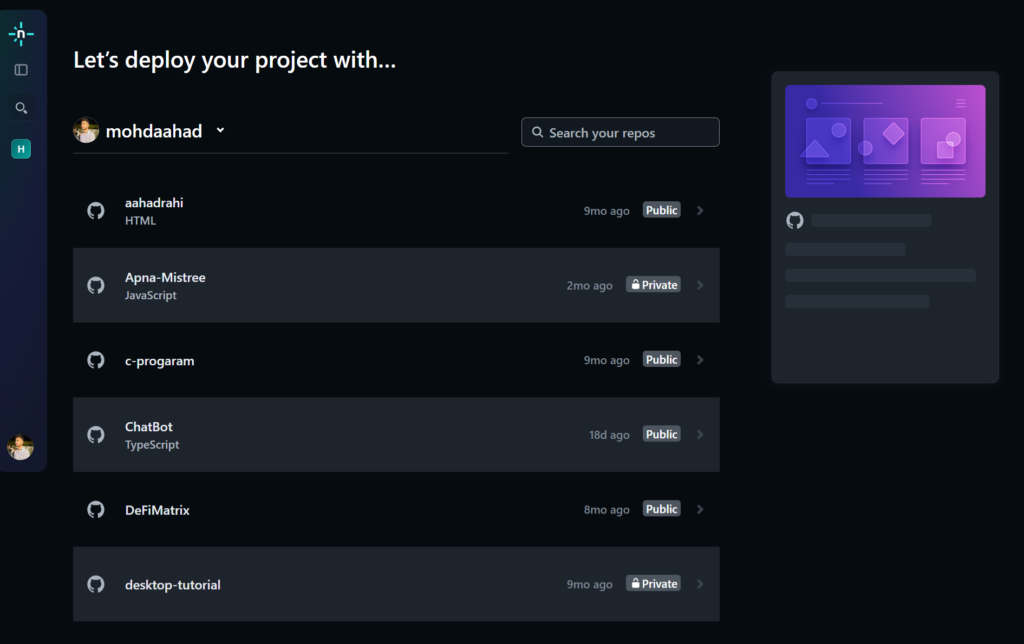
2. Connect Your Git Repository (if applicable):
- If your project is in a Git repository, choose your repository hosting service (e.g., GitHub, GitLab, or Bitbucket).

Authorize Netlify to access your repository and select the repository you want to deploy.

Select the repository to deploy.
site name add

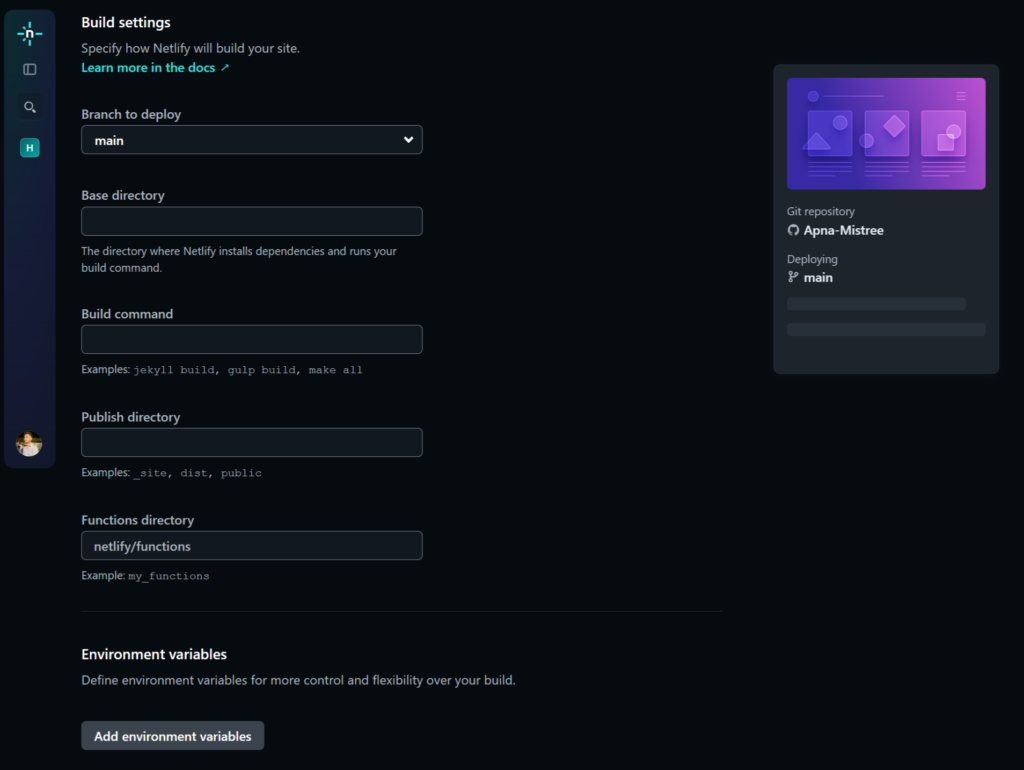
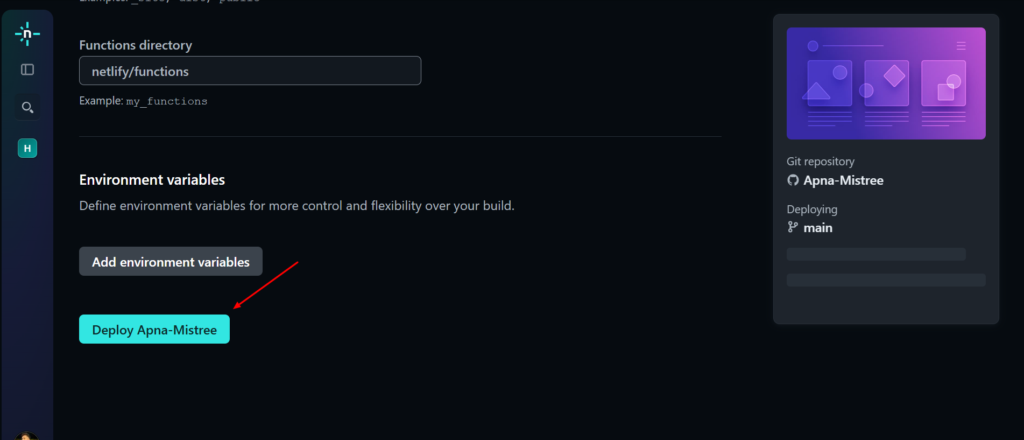
3. Configure Build Settings (if needed):
- If your site uses a static site generator (like Gatsby or Hugo), you might need to specify the build command and publish directory.
- For simple static sites, you can skip this step as Netlify will automatically detect the settings.
4. Deploy Your Site:
- Click the “Deploy site” button. Netlify will start the deployment process, which includes building your project and hosting it.
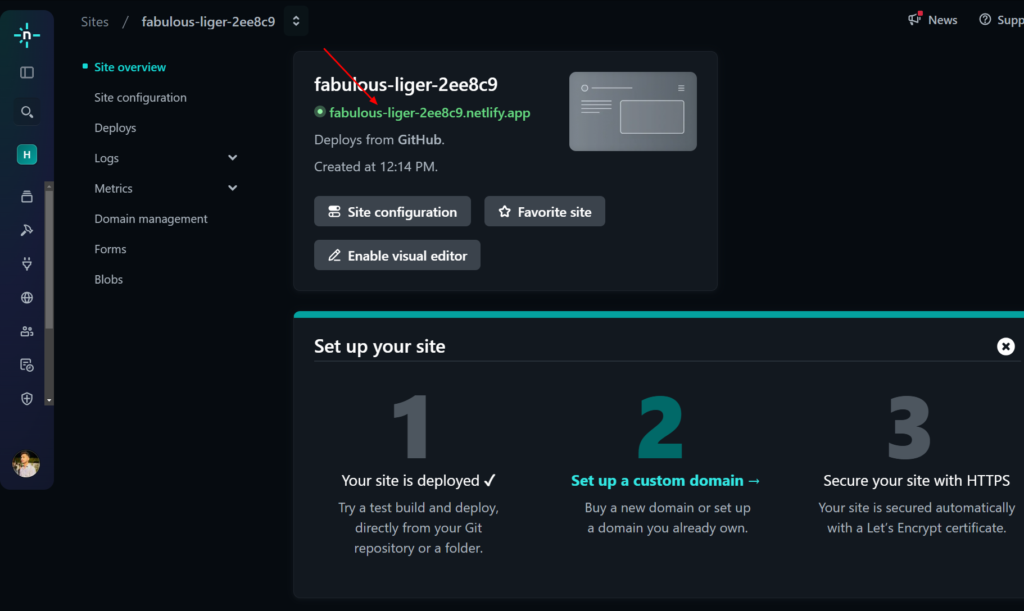
5. Access Your Live Website:
- Once the deployment is complete, Netlify will provide a live URL for your website. You can visit this URL to see your website in action.
Step 4: Configure Domain Settings (Optional)
- Add a Custom Domain:
- If you have a custom domain, you can configure it by clicking on the “Domain settings” option in your site dashboard.
- Follow the prompts to add your domain. You may need to update your DNS settings to point to Netlify.
- Verify Domain Ownership:
- Netlify may require you to verify ownership of the domain, usually by adding a TXT record in your domain registrar’s DNS settings.
Step 5: Make Updates and Redeploy
- Make Changes to Your Project:
- Whenever you want to update your website, make the necessary changes in your local project.
- Commit and Push Changes (if using Git):
- After making changes, commit your updates:
git add . git commit -m "Updated website content" git push
- After making changes, commit your updates:
- Automatic Redeployment:
- Netlify will automatically detect changes in your repository and redeploy your website, making your updates live within seconds.
Step 6: Monitor Site Performance and Analytics (Optional)
- Enable Analytics:
- Netlify provides built-in analytics to monitor your website’s performance. You can enable analytics from your site dashboard to gain insights into traffic and usage.
- Set Up Continuous Deployment:
- If you are using Git, Netlify automatically sets up continuous deployment. This means any changes pushed to your repository will trigger a new deployment, keeping your site up-to-date.

