If you want to install OpenClaw with Docker, start with the boring question first: do you actually need the container path?
OpenClaw’s own docs call Docker optional. That matters. The normal installer is still the better fit for many laptops and daily development machines. Docker starts to make sense when you want a contained Gateway on a VPS, a disposable test environment, a repeatable setup for a team host, or a machine where you do not want a global Node install touching the base system.
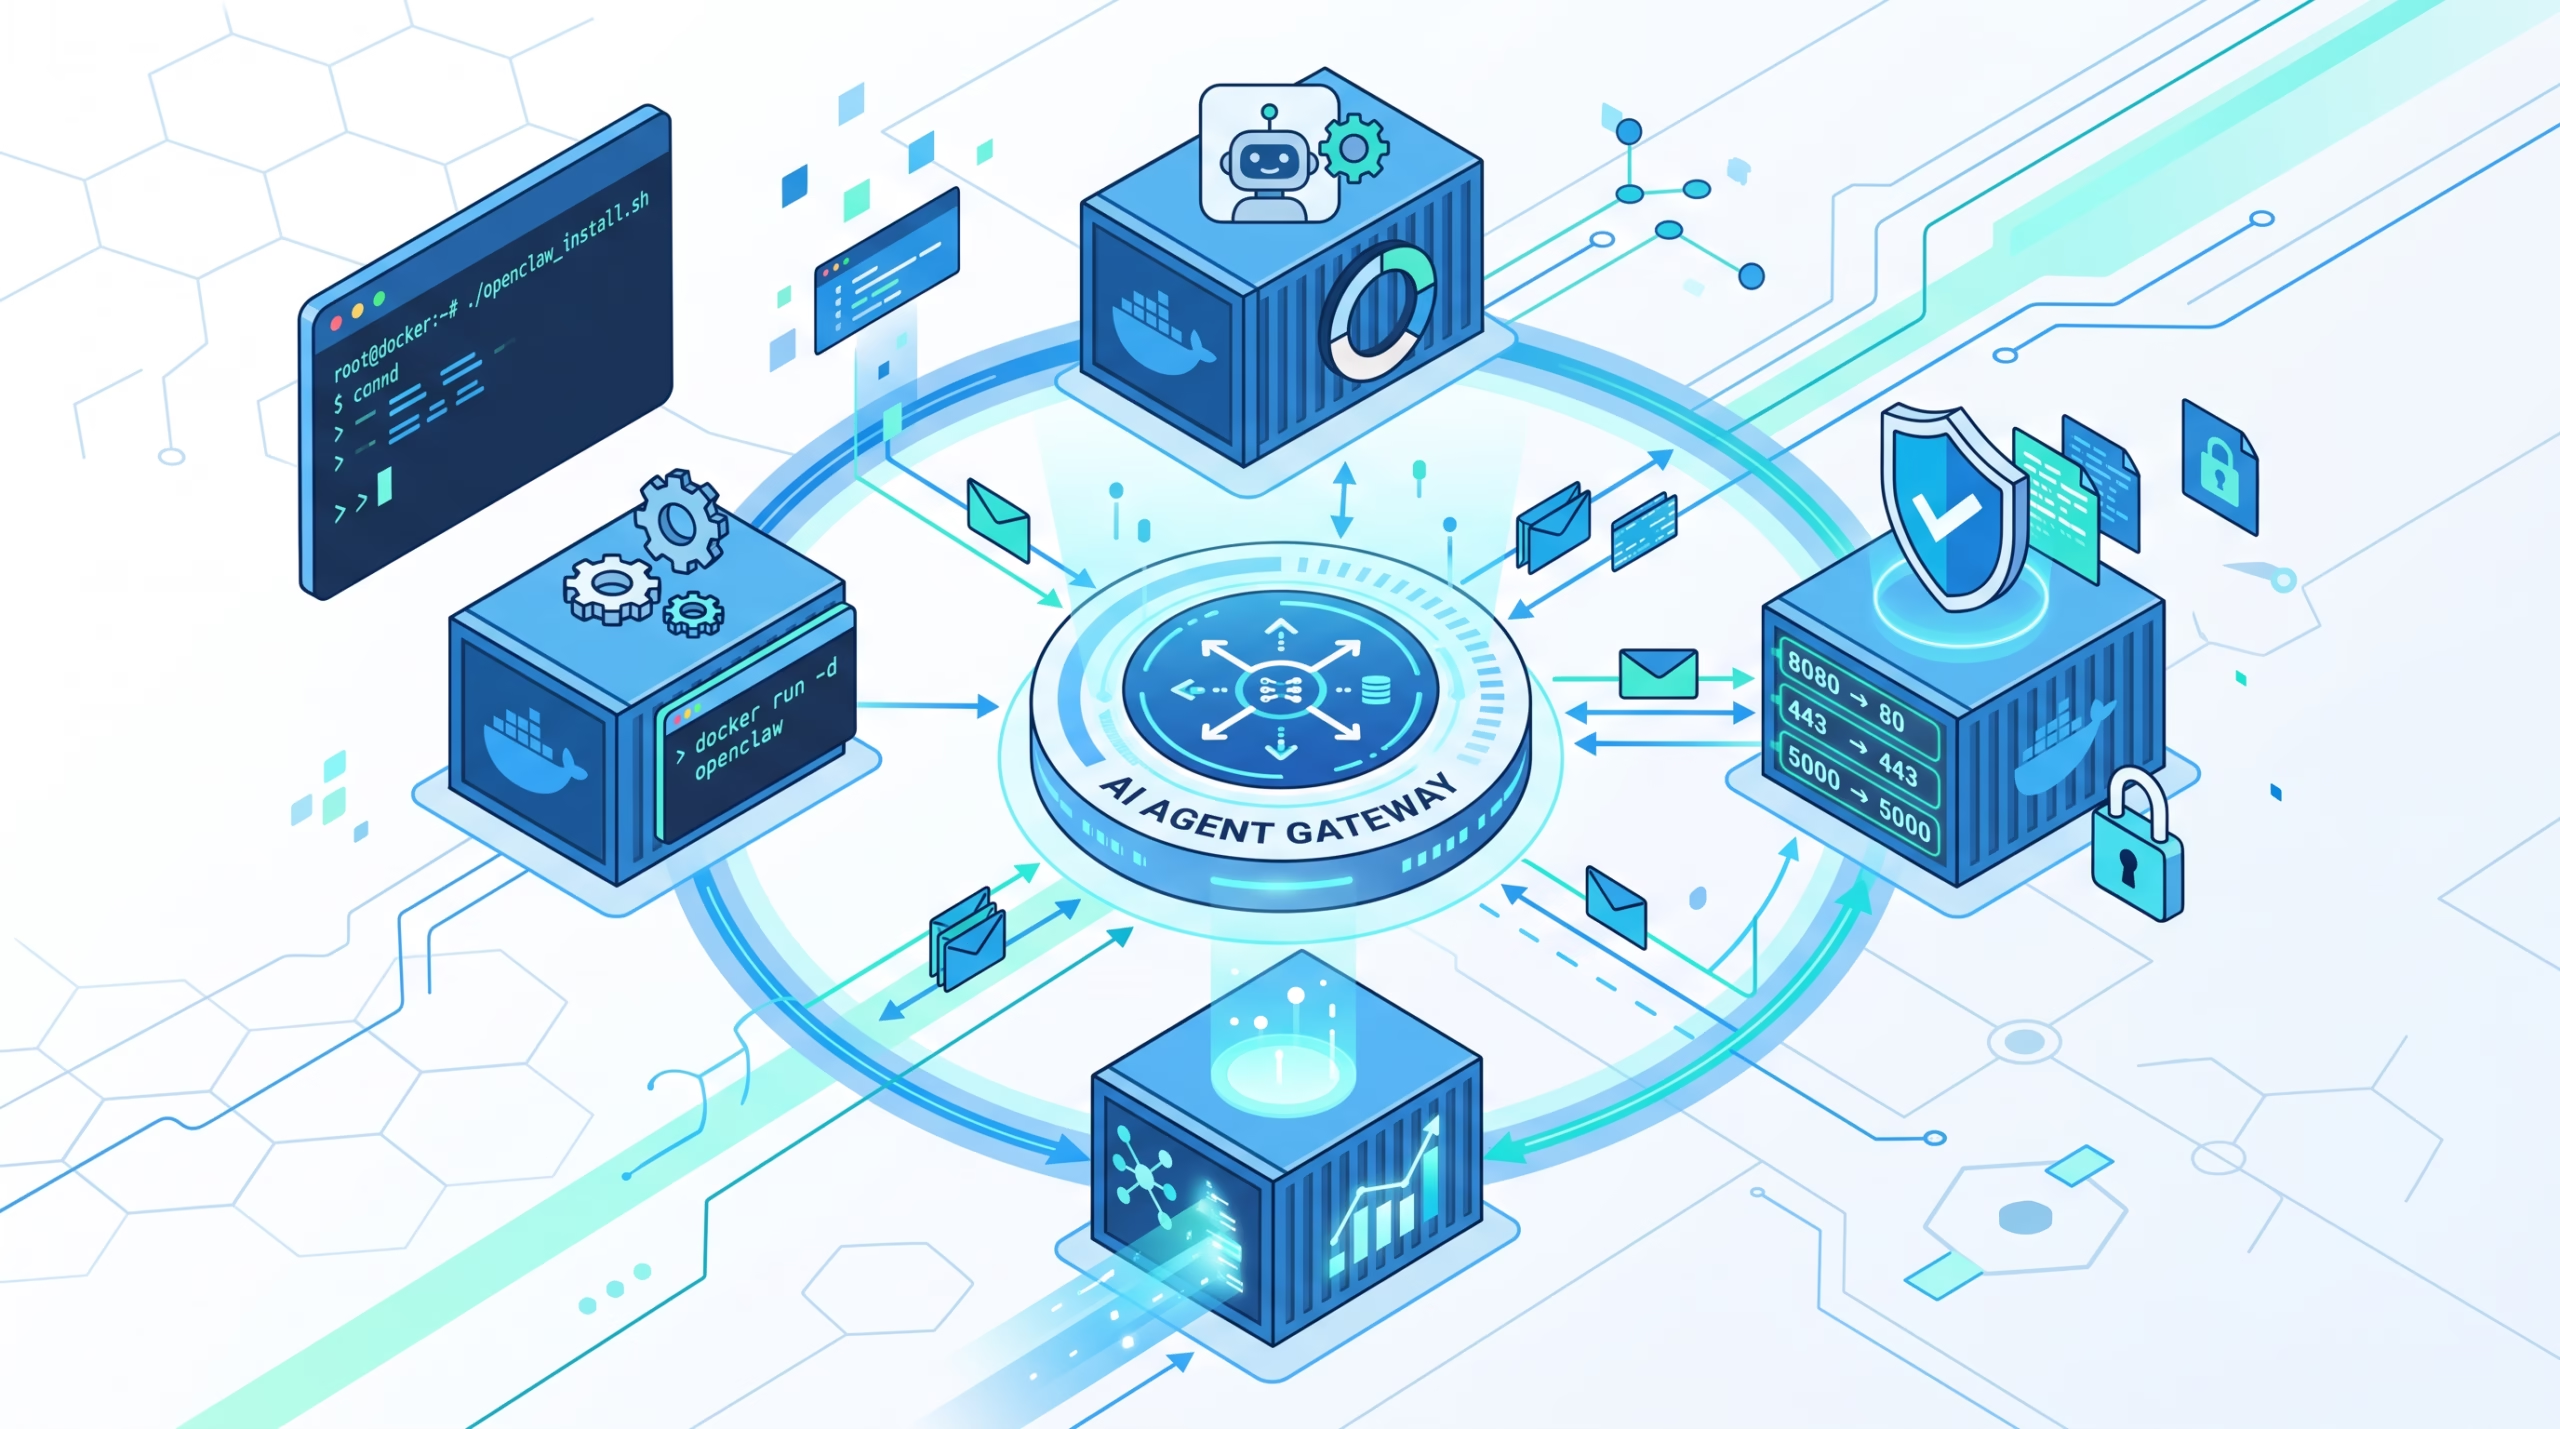
The practical version is simple: pick an image source, run the setup script, keep the token safe, open the Control UI on the right port, and treat security as part of setup. Do that, and Docker gives you a neat OpenClaw Gateway host. Skip those details, and you get the usual container mess: stale environment values, confusing ports, and a service that looks up but is not ready for real use.
Should you install OpenClaw with Docker?
Use Docker when the host should stay plain. A Docker install keeps the Gateway runtime, dependencies, and Compose lifecycle in one place. It is a good match for a VPS, a lab server, a throwaway staging box, or a local experiment where you expect to delete the whole thing later.
Do not pick Docker just because it sounds more production-grade. On a personal Mac or Linux workstation, the installer script is usually faster and less surprising. The desktop apps also exist for users who want setup, tray status, chat, and node mode without living in Compose files.
There is one more point people miss: running the Gateway in Docker is separate from running agent tools in a Docker sandbox. OpenClaw can use Docker as a sandbox backend even when the Gateway itself runs on the host. The reverse is also true: a containerized Gateway does not mean every tool call is automatically sandboxed. Keep those two ideas separate or the security model gets muddy fast.
What you need before you start
The Docker docs list four plain prerequisites:
- Docker Desktop or Docker Engine
- Docker Compose v2
- Enough disk space for images and logs
- At least 6 GB of RAM if you build the image locally from source
That RAM note is easy to overlook. If the host is small, use a pre-built image instead of building locally. A tiny VPS can run the Gateway, but it may not enjoy compiling a full local image first.
If this is a public host, read the security docs before exposing anything. OpenClaw says container images default to an exposed bind, which is different from the conservative loopback bind used by a regular host install. That does not make Docker unsafe. It does mean auth, firewall rules, and access policy belong in the first pass, not a weekend cleanup task.
Install OpenClaw with Docker from the repo
The source-build path starts from the OpenClaw repo root:
./scripts/docker/setup.shThat command builds the Gateway image locally as openclaw:local. The setup script then handles the Docker-oriented first-run flow: it syncs the environment file, fixes permissions, runs onboarding, syncs Gateway config, and starts the Gateway with Docker Compose.
The key detail is where you run it. Run docker compose and the setup script from the repo root. If you run from the wrong directory, Compose will not see the expected project files, and the error can look unrelated to OpenClaw.
Local builds are useful when you are testing a source checkout, trying a branch, or working on OpenClaw itself. For an ordinary install, though, local builds add time and memory pressure. Most people setting up a VPS should look at the pre-built image path first.
Use the official pre-built image when you do not want a local build
To skip the local image build, set OPENCLAW_IMAGE before running the same setup script:
export OPENCLAW_IMAGE="ghcr.io/openclaw/openclaw:latest"
./scripts/docker/setup.sh
The docs name GitHub Container Registry as the primary registry:
ghcr.io/openclaw/openclaw:latestThey also list a Docker Hub mirror:
openclaw/openclaw:latestUse one of those official image names. Avoid unofficial mirrors, because you lose the release timing, retention policy, and provenance expectations that come with the official pipeline.
Version-specific tags exist too. The docs mention release tags such as 2026.2.26 and prerelease tags such as 2026.2.26-beta.1. For a casual test, latest is fine. For a team host, pin a version so upgrades are deliberate.
There are also image variants. The default image bundles the codex and diagnostics-otel plugins. Browser variants include Chromium, which is handy when you want sandboxed browser work without waiting on a first-run browser install. The trade-off is the obvious one: bigger image, fewer moving parts later.
Open the Control UI and finish onboarding
After startup, open the Control UI here:
http://127.0.0.1:18789/The setup flow writes a Gateway token into .env. Paste that token into Settings. If you changed the container to password auth, use the password instead.
If you need the dashboard URL again, the docs give this command:
docker compose run --rm openclaw-cli dashboard --no-openWatch the port detail. The containers still use port 18789 internally. If you set OPENCLAW_GATEWAY_PORT, change the host port in the browser URL but keep the rest of the printed URL intact. This is the kind of tiny Compose detail that wastes half an hour when you are tired.
Channel setup is optional. For example, the Docker docs show commands for WhatsApp QR login, Telegram, and Discord:
docker compose run --rm openclaw-cli channels login
docker compose run --rm openclaw-cli channels add --channel telegram --token "<token>"
docker compose run --rm openclaw-cli channels add --channel discord --token "<token>"
Keep channel credentials out of shell history when you can. For long-lived hosts, environment-backed credentials are cleaner than pasted tokens.
Headless Docker setup for a VPS
A VPS install often needs to run without prompts. OpenClaw supports that too. Put provider, Gateway, and channel credentials in the Compose .env file so the one-shot bootstrap container and the long-running Gateway receive the same values:
OPENAI_API_KEY=<provider-key>
OPENCLAW_GATEWAY_TOKEN=<gateway-token>
TELEGRAM_BOT_TOKEN=<bot-token>
Then run onboarding without a pseudo-TTY, add the channel from the environment, and start the Gateway:
docker compose run -T --rm --no-deps --entrypoint node openclaw-gateway \
  dist/index.js onboard --non-interactive --accept-risk --skip-health \
  --mode local \
  --auth-choice openai-api-key \
  --secret-input-mode ref \
  --gateway-auth token \
  --gateway-token-ref-env OPENCLAW_GATEWAY_TOKEN \
  --skip-channels \
  --no-install-daemon

docker compose run -T --rm --no-deps --entrypoint node openclaw-gateway \
  dist/index.js channels add --channel telegram --use-env

docker compose up -d openclaw-gateway
The useful design choice here is that --use-env does not copy the channel token into openclaw.json. The running Gateway still needs the same environment variable after bootstrap, so leave it in .env. If you remove it, the config may still say “use env”, but the process will not have the credential.
For public machines, run a security audit after setup:
openclaw security auditThe security docs say the audit checks inbound access, tool blast radius, filesystem permissions, plugin posture, network exposure, browser exposure, sandbox drift, and related settings. You do not need to memorize every check. You do need to run it after changes that affect exposure.
Docker Gateway vs Docker sandboxing
This is the part worth slowing down for. A Docker-installed Gateway is about packaging the Gateway. Docker sandboxing is about where tool execution happens.
OpenClaw sandboxing is off by default. When enabled, it can move tool execution into a backend such as Docker, Podman, SSH, or OpenShell. The Gateway process itself stays outside that tool sandbox. The docs are blunt about the point: sandboxing is not perfect, but it reduces the damage when a model does something foolish.
The default Docker sandbox posture listed in the sandboxing docs is intentionally tight: no network, read-only root, dropped Linux capabilities, and a specific sandbox image. A simple Docker-backed sandbox config looks like this:
{
  "agents": {
    "defaults": {
      "sandbox": {
        "mode": "all",
        "backend": "docker",
        "scope": "session",
        "workspaceAccess": "ro"
      }
    }
  }
}
That is not required just to install OpenClaw with Docker. It is a separate hardening choice. For a private single-operator box, you may choose less isolation. For agents that can be messaged by other people, tool isolation deserves more attention.
Updating and troubleshooting a Docker install
When you replace the OpenClaw image but keep the same mounted state, the Gateway runs startup-safe upgrade migrations and plugin convergence before readiness. In normal cases, you should not need a separate repair command.
If startup cannot complete those repairs, the container exits instead of pretending to be healthy. With a restart policy, that can show up as a restarting container. Keep the mounted state volume, then run the same image once with the doctor command:
docker run --rm -v <openclaw-state>:/home/node/.openclaw <image> openclaw doctor --fixAfter that, restart the Gateway with its normal command. For Compose installs, run the read-only preflight against the same mounted state:
docker compose run --rm openclaw-cli doctor --jsonEnvironment changes have their own trap. After changing .env or Compose environment settings, run:
docker compose up -d openclaw-gatewayA plain docker compose restart does not apply new environment values. That one line from the docs is probably the most practical troubleshooting advice in the whole Docker page.
FAQ about installing OpenClaw with Docker
Is Docker the recommended OpenClaw install method?
Not for everyone. The Docker page says Docker is optional. Use it when you want a containerized Gateway, an isolated test setup, or a server-friendly deployment. Use the standard installer or desktop app when that is simpler.
Which image should I use?
Use an official image: ghcr.io/openclaw/openclaw:latest or openclaw/openclaw:latest. Pin a version tag for production-like hosts so upgrades happen on purpose.
Why can I not open the dashboard?
Check the host port. The default URL is http://127.0.0.1:18789/. If you changed OPENCLAW_GATEWAY_PORT, use your custom host port in the browser URL.
Does Docker automatically sandbox my agents?
No. A Docker Gateway and Docker tool sandboxing are different settings. OpenClaw sandboxing is off by default and must be configured separately.
What should I do before exposing a Docker install on a VPS?
Use Gateway auth, review firewall rules, and run openclaw security audit. The security docs are clear that public exposure and tool-enabled agents need a tighter posture than a localhost-only personal install.
Final take
Docker is a strong OpenClaw install path when you want a repeatable Gateway host with predictable lifecycle commands. It is also a little less forgiving than the one-line installer because the small details matter: image source, mounted state, token handling, host port, and environment recreation.
My advice is simple. Use the official image unless you are testing source. Pin versions for serious hosts. Run the security audit before you expose the Gateway. And when something looks stale after an environment change, recreate the Gateway container before you blame the config.
CTA: After your Docker Gateway starts, open the Control UI, pair one channel, and run a security audit before inviting anyone else to message the agent.