

If you have watched image generation over the last year, you have heard the name Nano Banana. It started as an internal codename, became a viral hit, and is now the brand for Gemini’s native image models. This post is a working guide to Nano Banana image generation from a developer’s seat: what the four models actually are, how to call them on Google Cloud without an API key, and a small Python script we use to turn a text prompt into a blog hero image.
No screenshots of a chat app. No “10 amazing prompts” listicle. Just the models, the setup, and a script you can read top to bottom.
What “Nano Banana” actually is
Nano Banana is not one model. It is a family, and Google keeps the fruit name as the friendly label while the real identifiers live under the Gemini 3 line. As of early 2026 there are four, and picking the wrong one is the most common mistake.
| Friendly name | Model ID | Best for |
|---|---|---|
| Nano Banana 2 Lite | gemini-3.1-flash-lite-image |
Highest volume, lowest cost. 1K only. No search grounding. |
| Nano Banana 2 | gemini-3.1-flash-image |
The default workhorse. Fast, good text, up to 4K, handles multiple reference images. |
| Nano Banana Pro | gemini-3-pro-image |
The premium pick. Best world knowledge, brand consistency, and in-image text. |
| Nano Banana (legacy) | gemini-2.5-flash-image |
The original. Still works, but Google says move off it. |
A bit of history helps here. The original Nano Banana landed in August 2025 and went viral for how well it edited photos. Nano Banana Pro followed in November 2025 with studio-grade control. Then in February 2026 Google shipped Nano Banana 2, which is basically Pro-level intelligence at Flash speed. That is the one most people should reach for now.
What changed with the Gemini 3 image models
The jump from the legacy 2.5 model to the Gemini 3 generation is not a minor version bump. A few things are genuinely new and they matter for real work.
- Resolution you control. Output runs from 512px up to 4K. You ask for
1K,2K, or4Kdirectly. The legacy model gave you roughly 1K and that was that. - Text that is actually legible. This is the headline. Earlier image models turned any text into garbled shapes. Nano Banana 2 renders real headlines, menus, and infographic labels. If you make marketing assets, this alone is the reason to upgrade.
- Search grounding. The model can use Google Search as a tool to pull real facts into an image, like current weather or a recent event. The Lite model does not support this.
- Up to 14 reference images. Mix objects, characters, and style references to keep a subject consistent across a series.
- A “thinking” pass. The Gemini 3 models reason through a prompt and generate interim draft images to refine composition before the final render. You are not billed for those interim frames.
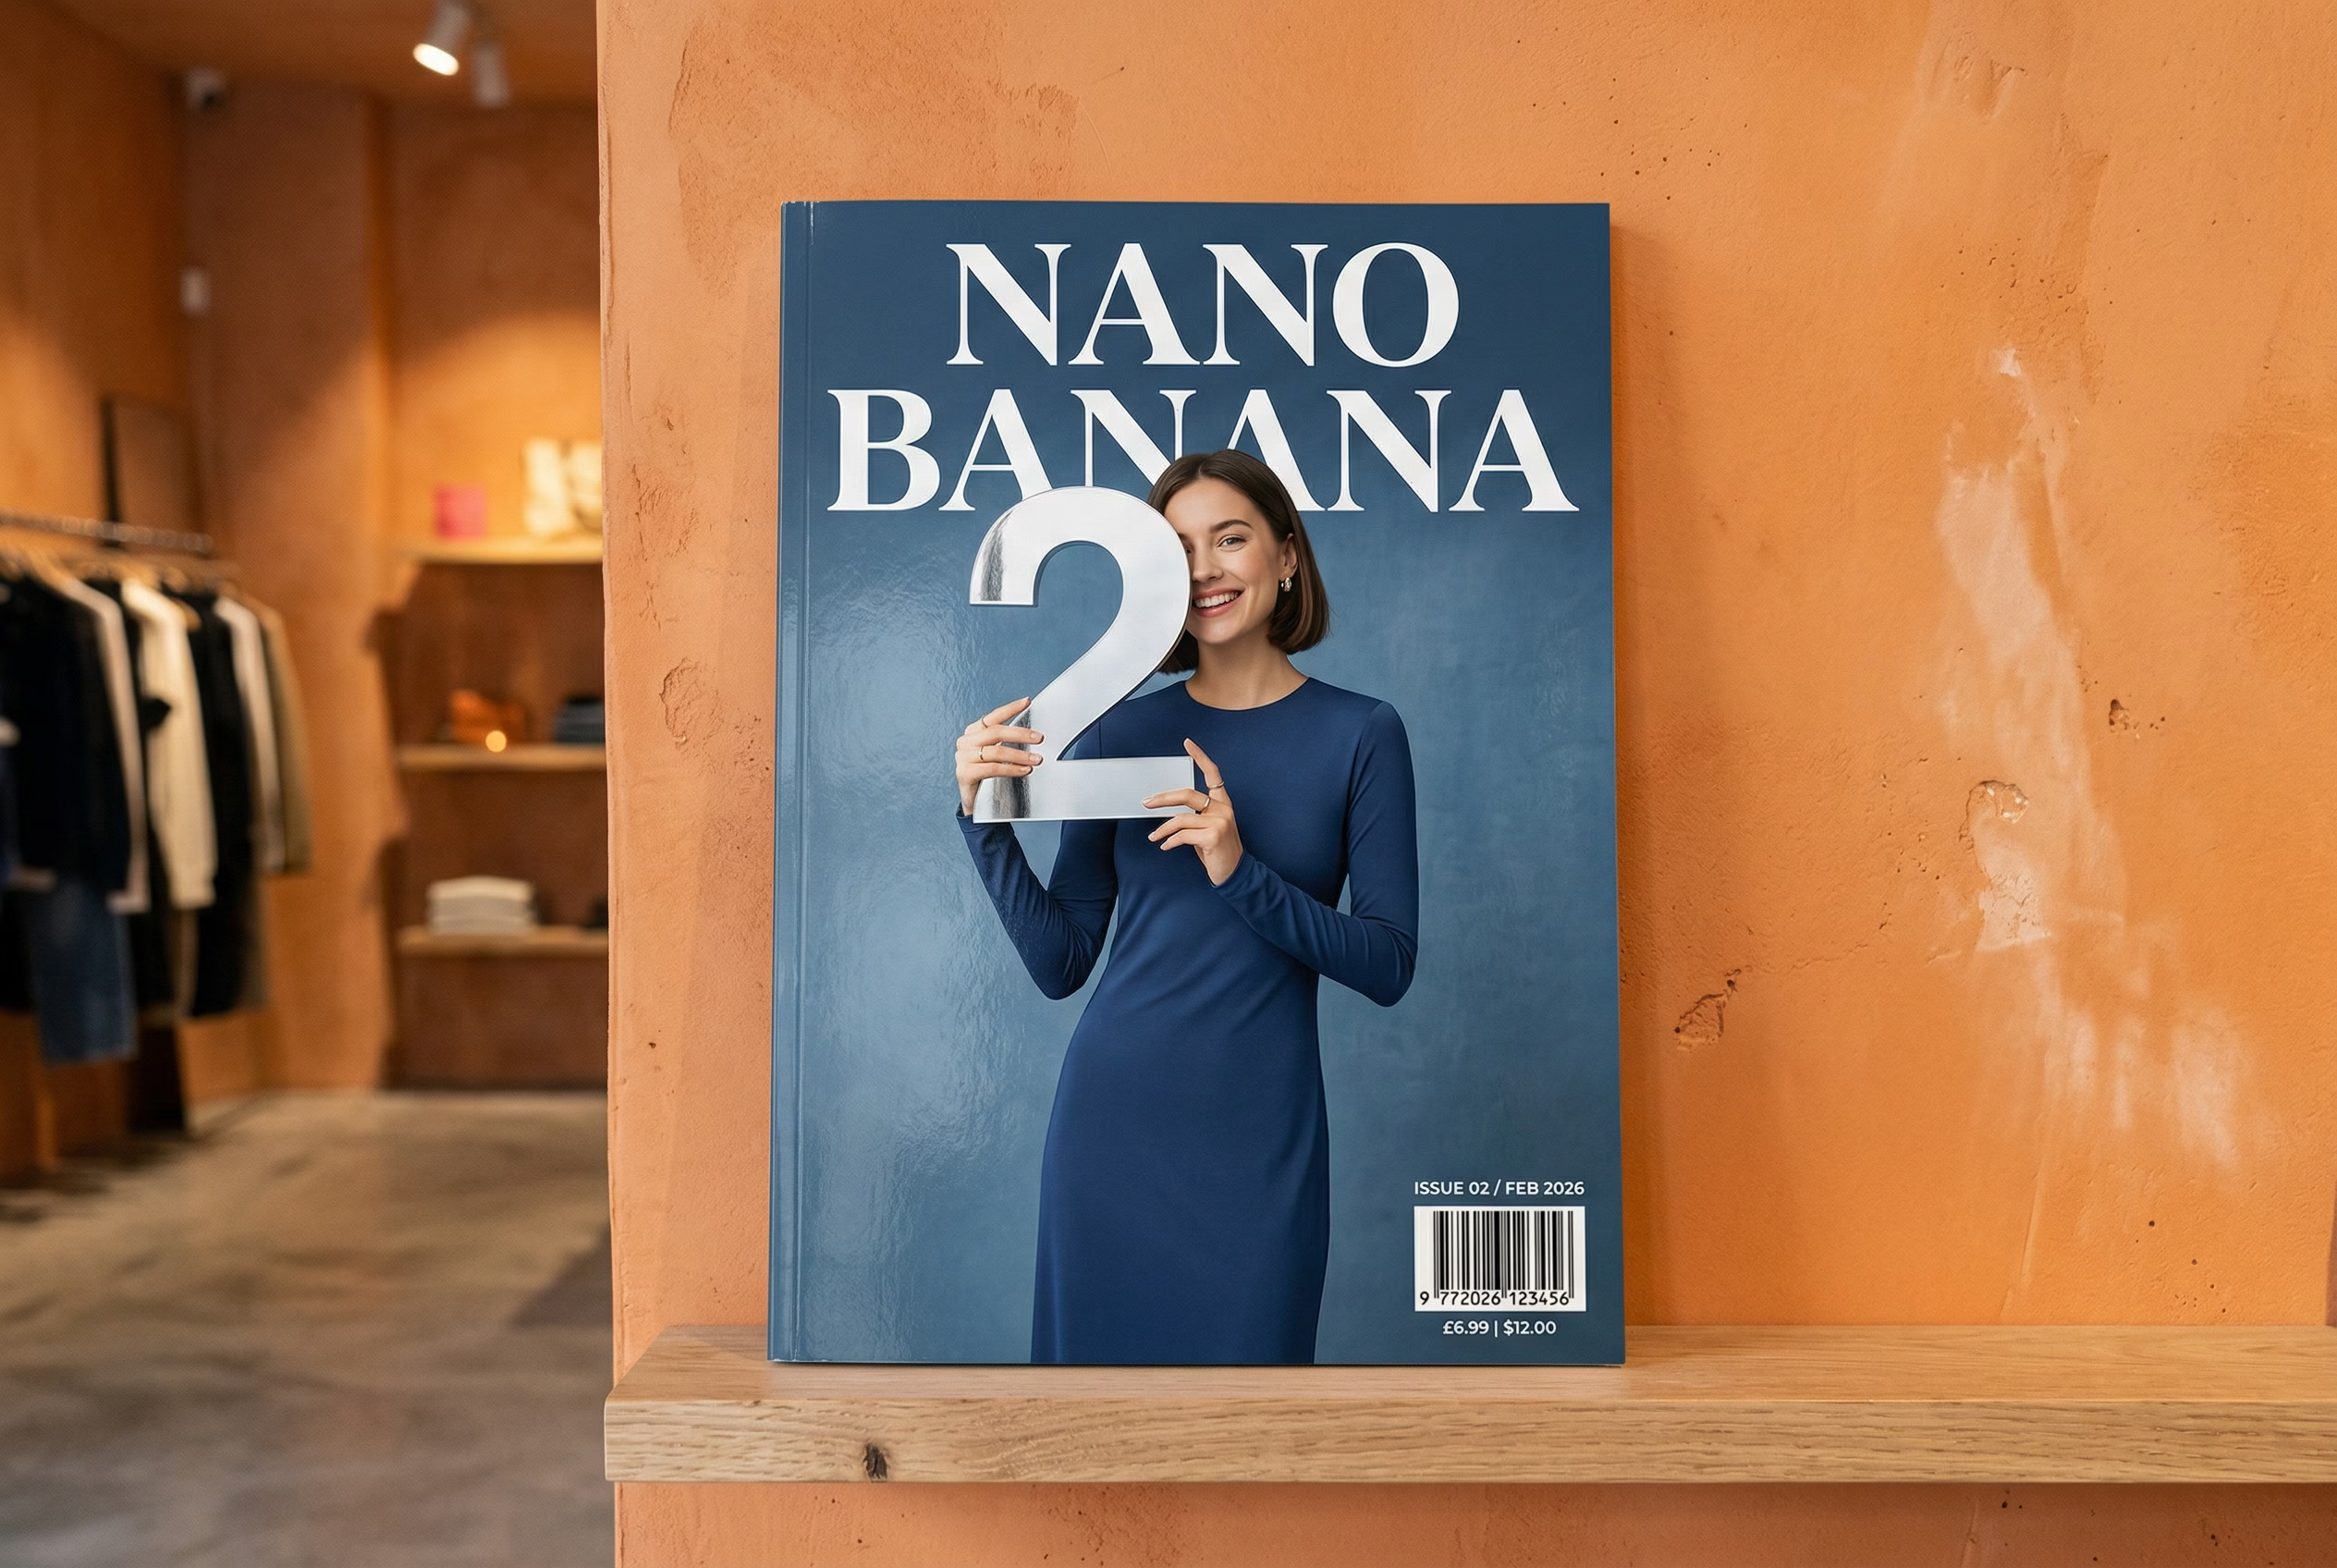
My honest take: text rendering and controllable resolution are the two upgrades that change a workflow. Everything else is nice. Those two are the difference between a toy and a tool.
What the models actually produce
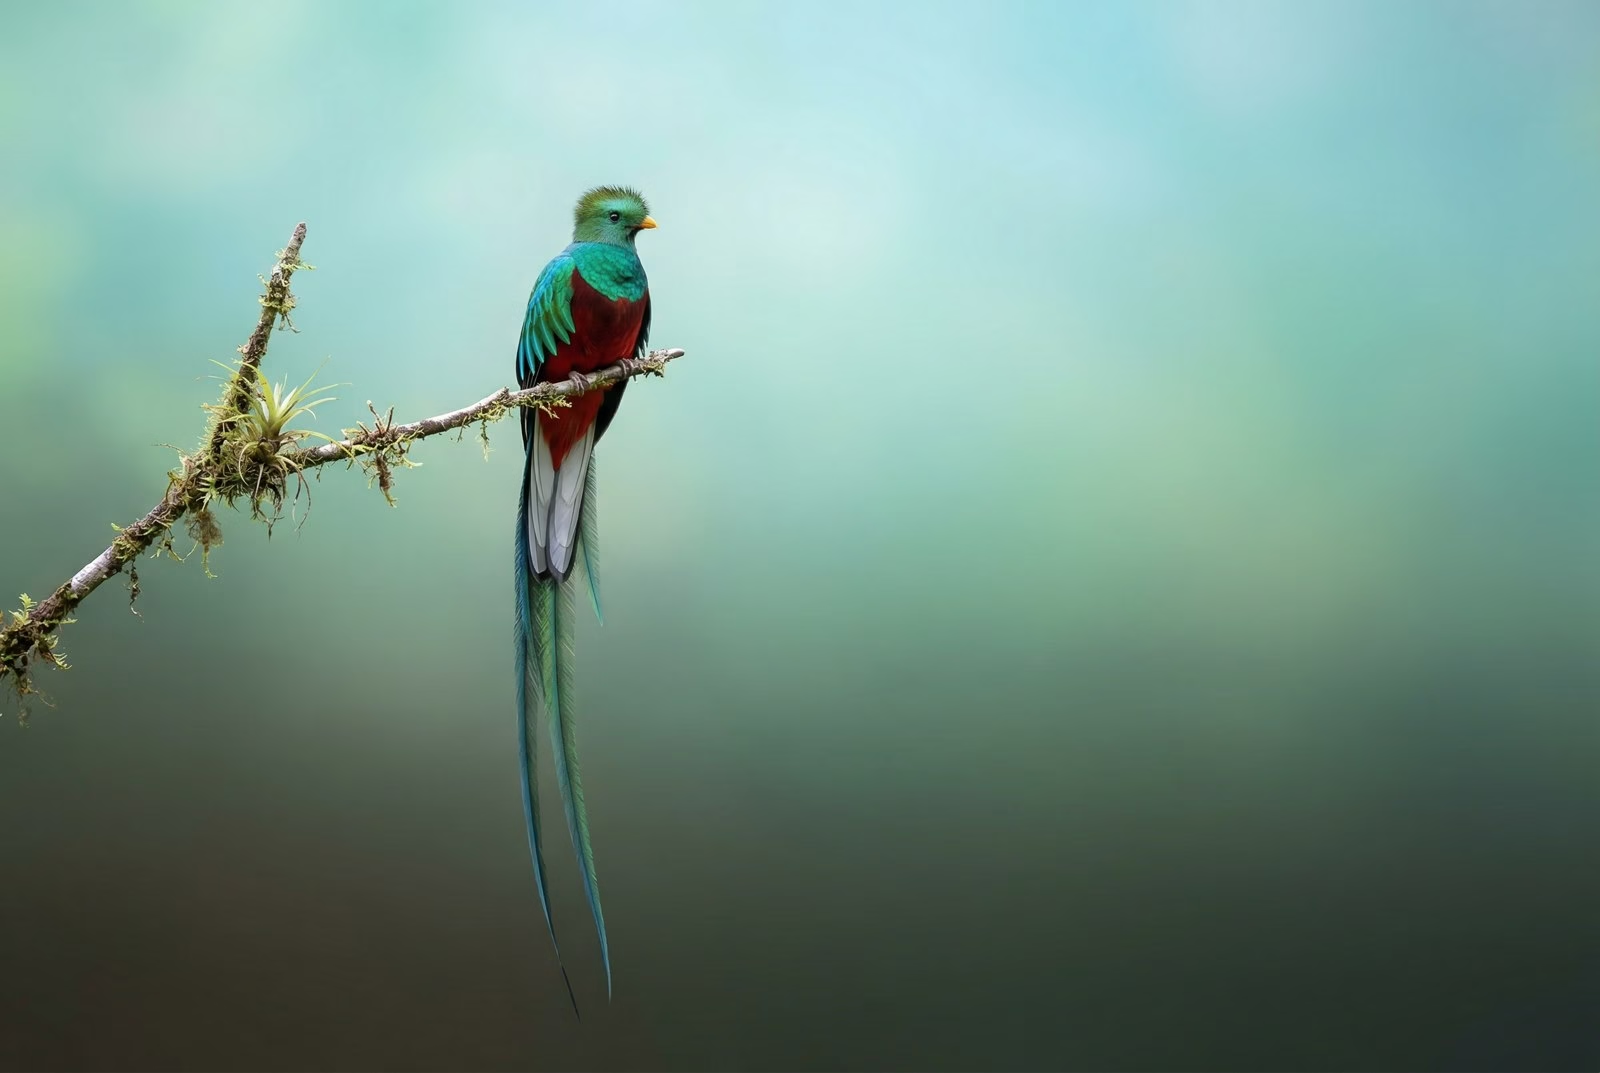
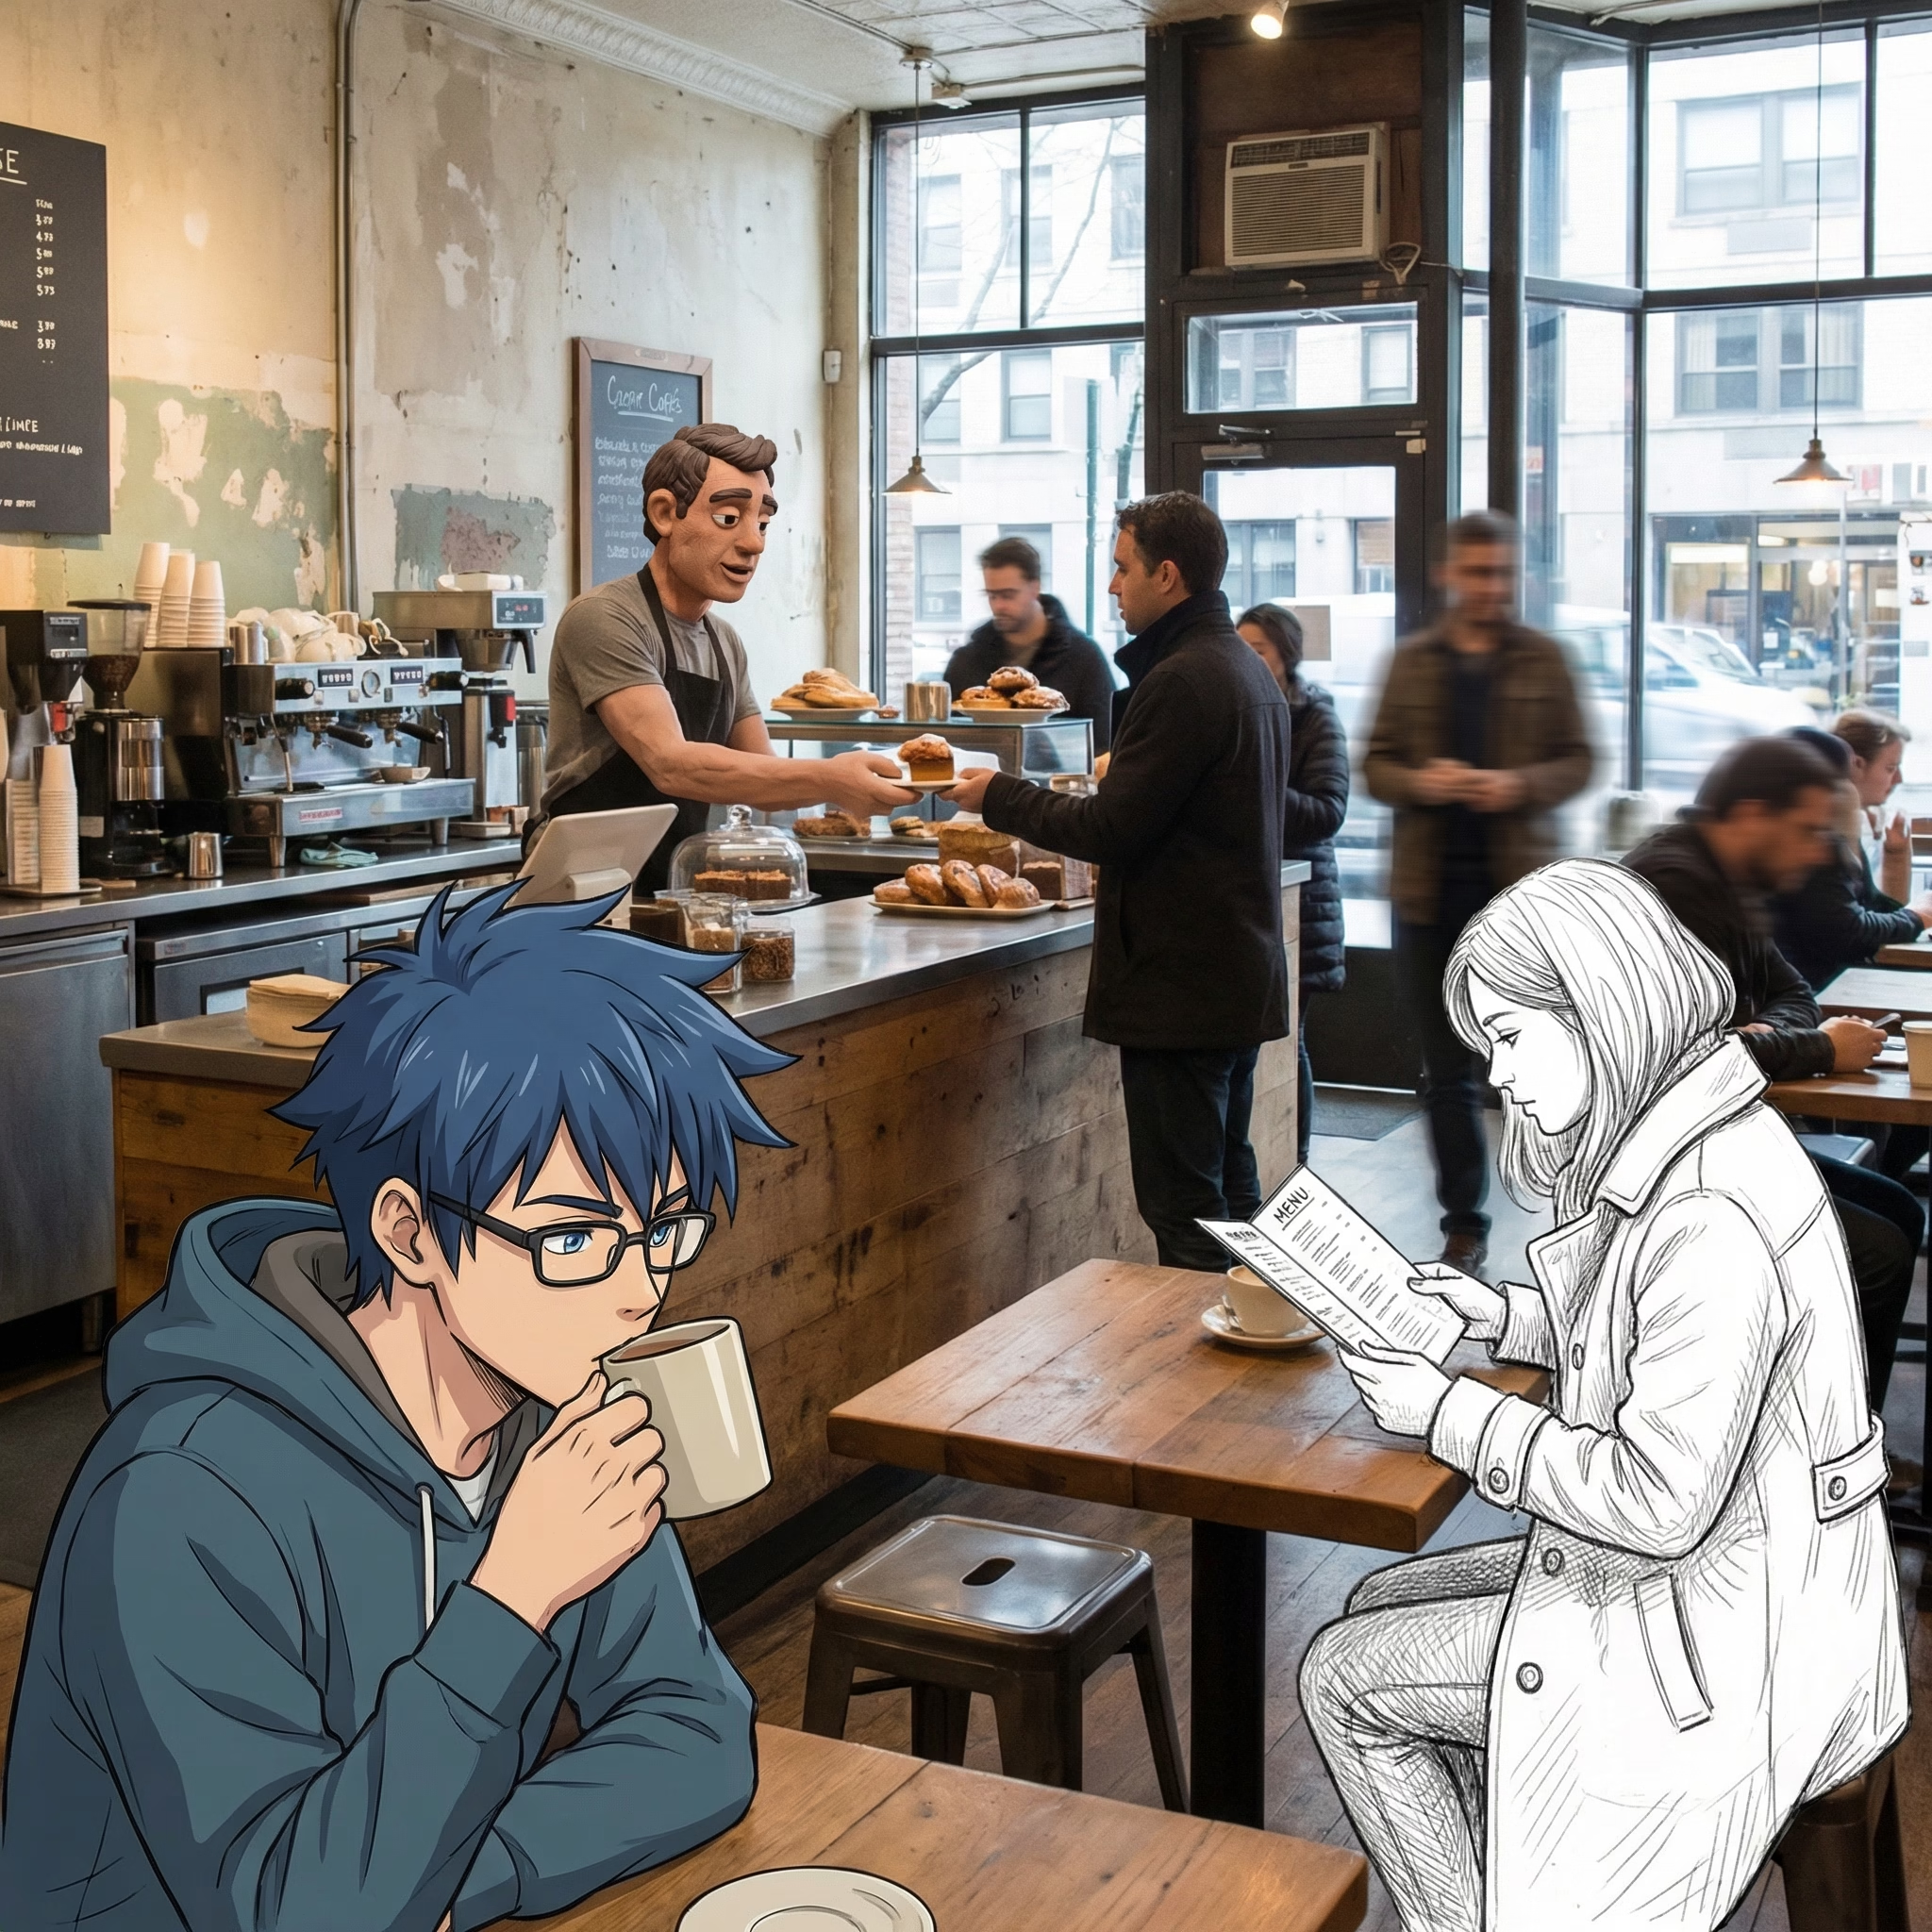
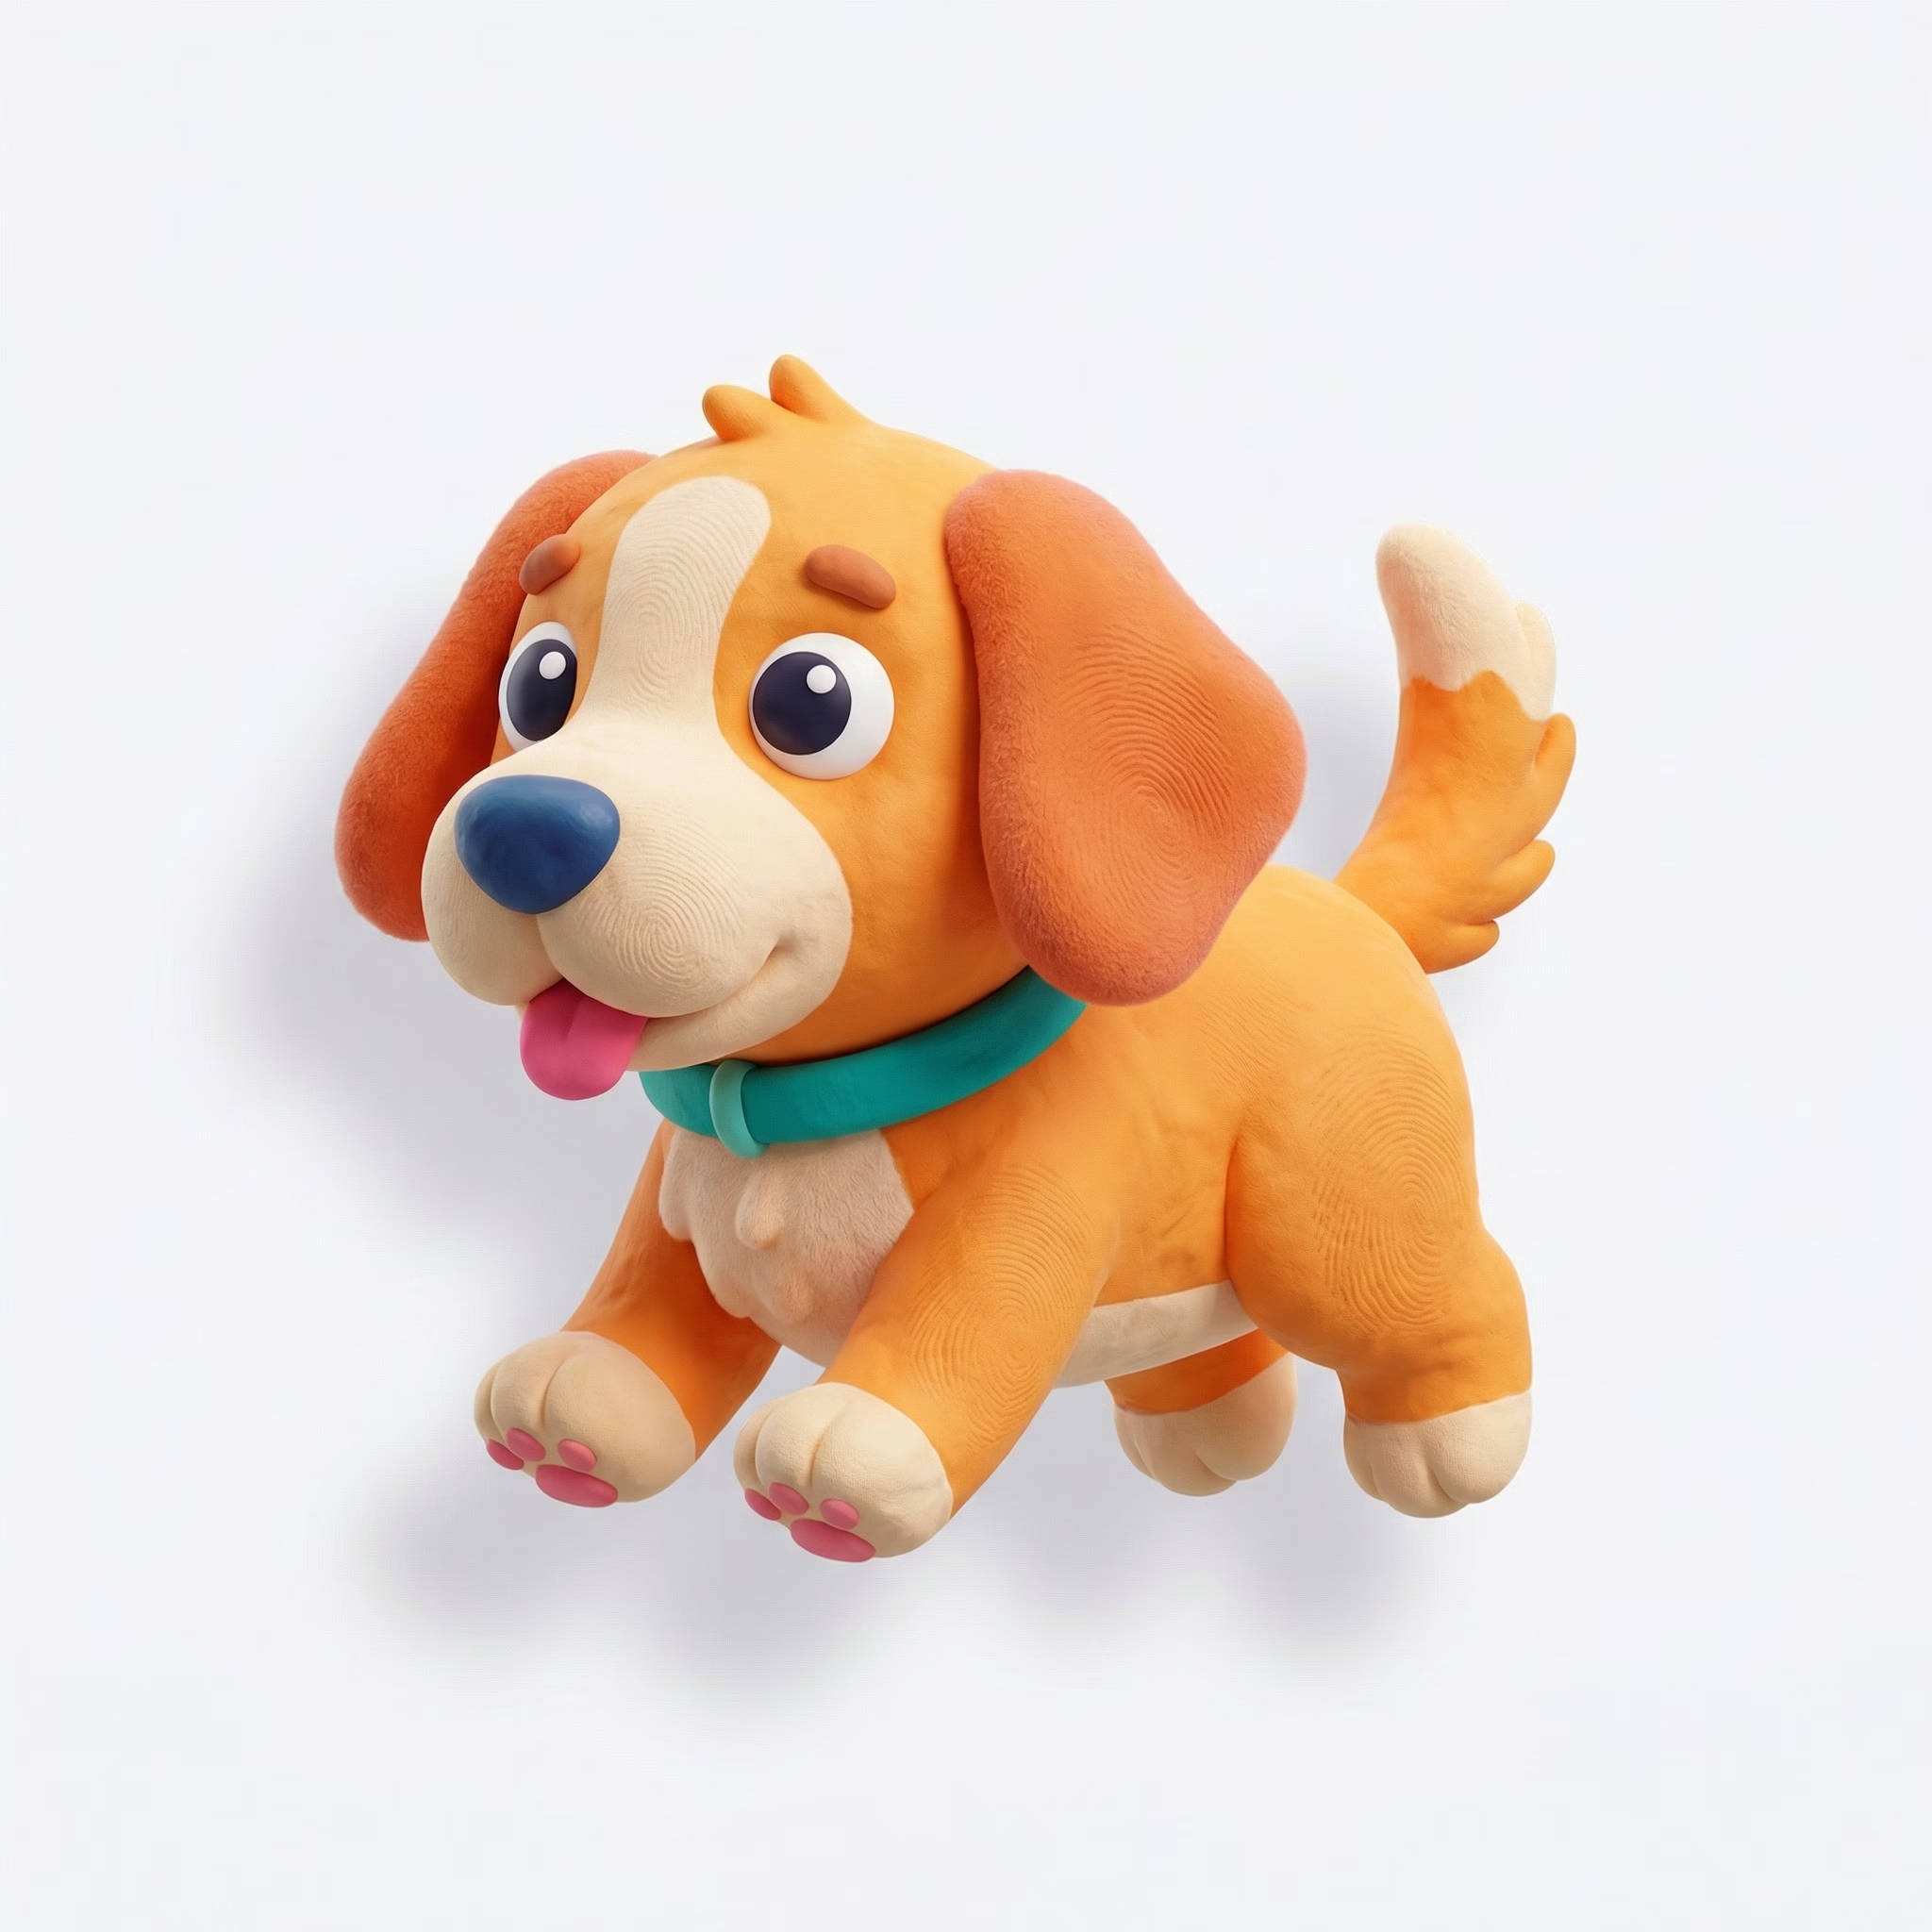
Claims are cheap, so here are Google’s own sample outputs. Look at what they say about text, real-world data, and style control.

What it costs
Image generation is billed per token, and image output is the expensive part. Here are the standard rates from Google Cloud’s pricing page, per one million tokens, for the Vertex AI path:
| Model | Image output (per 1M tokens) |
|---|---|
Nano Banana 2 Lite (gemini-3.1-flash-lite-image) |
$30 |
Nano Banana 2 (gemini-3.1-flash-image) |
$60 |
Nano Banana Pro (gemini-3-pro-image) |
$120 |
Per image, that works out small. Google prices a 1K or 2K image at roughly 1,120 output tokens and a 4K image at around 2,000. So a 2K image on Nano Banana Pro costs about 13 cents, the same image on Nano Banana 2 costs about 7 cents, and Lite comes in under 4 cents. For a blog that ships a handful of images a day, the bill is rounding error. For an app generating thousands, the model you default to is a real budget decision.
Two ways to call it: Gemini API vs Vertex AI
This trips people up, so it is worth being blunt. There are two separate front doors to the same models, and they authenticate differently.
- The Gemini API (
generativelanguage.googleapis.com, from Google AI Studio). You enable the Gemini API, create an API key, and pass it as a header. Fastest way to start. Great for a laptop prototype. - Vertex AI (
aiplatform.googleapis.com, part of Google Cloud). No API key. You authenticate with your Google Cloud identity through Application Default Credentials (ADC). This is what you want on a server, because there is no long-lived key sitting in a file.
We run on Vertex. The reason is boring and correct: the box already has a Google Cloud login, so a short-lived access token is one command away and nothing secret gets written to disk. If you are scripting on a VPS, do the same.
The script, start to finish
Here is the core of the generator we use. It is plain Python with the standard library plus the gcloud CLI. No SDK install, no key. Swap in your own project ID.
#!/usr/bin/env python3
import sys, json, base64, subprocess, urllib.request, urllib.error

PROJECT  = "YOUR_PROJECT_ID"
LOCATION = "global"
MODEL    = "gemini-3.1-flash-image"   # Nano Banana 2

def token():
    # A short-lived access token from your gcloud login (ADC). No API key.
    return subprocess.check_output(
        ["gcloud", "auth", "print-access-token"]).decode().strip()

def generate(prompt, out_path, model=MODEL, aspect="16:9", size="2K"):
    url = (f"https://aiplatform.googleapis.com/v1/projects/{PROJECT}"
           f"/locations/{LOCATION}/publishers/google/models/{model}:generateContent")

    gen_cfg = {"responseModalities": ["TEXT", "IMAGE"],
               "imageConfig": {"aspectRatio": aspect, "imageSize": size}}

    body = {"contents": [{"role": "user", "parts": [{"text": prompt}]}],
            "generationConfig": gen_cfg}

    req = urllib.request.Request(
        url, data=json.dumps(body).encode(),
        headers={"Authorization": f"Bearer {token()}",
                 "Content-Type": "application/json"})

    with urllib.request.urlopen(req, timeout=300) as r:
        data = json.loads(r.read())

    parts = data["candidates"][0]["content"]["parts"]
    img = next(p for p in parts if "inlineData" in p)
    with open(out_path, "wb") as f:
        f.write(base64.b64decode(img["inlineData"]["data"]))
    print(out_path)

if __name__ == "__main__":
    generate(sys.argv[1], sys.argv[2] if len(sys.argv) > 2 else "out.png")
Read it and the whole shape of the API shows up. A few parts earn a comment:
gcloud auth print-access-tokenis the entire auth story. It returns a token that lasts about an hour. No secrets in the repo.responseModalities: ["TEXT", "IMAGE"]tells the model you want an image back, not just text. Leave it out and you can get a text description instead.imageConfigis where you setaspectRatioandimageSize. This is a Gemini 3 feature. The legacy 2.5 model ignoresimageSize, so drop it if you call that one.- The image comes back as base64 inside
inlineData. Decode it and write the bytes. That is it.
Hands-on: what happened when we ran it
Testing this on a live Google Cloud project turned up a few things the docs do not spell out.
The model IDs resolve, but not all at once. On our first pass, gemini-3.1-flash-image and gemini-2.5-flash-image generated immediately. gemini-3-pro-image came back with a 429 “resource exhausted.” That is a rate limit, not a missing model. A short wait later, the exact same Pro call returned a clean 1.8 MB image. If you hit a 429, do not assume you lack access. You are just being throttled, and a quota bump in the Cloud console fixes it for good.
Aspect ratio and 2K make a visible difference. The legacy model handed back a squat 1344×768. Asking Nano Banana 2 for 16:9 at 2K produced a 2752×1536 image, which is the right shape and sharpness for a wide blog header with no cropping. For featured images this is the setting that matters most.
Imagen is a separate story. If you are used to Google’s older Imagen models, note that they are enabled independently and served from regional endpoints, not the global one used above. On a fresh project an Imagen call can 404 while Nano Banana works fine. Different product, different toggle.
Every image is watermarked. All Nano Banana output carries a SynthID watermark, and Google also attaches C2PA content credentials. That is invisible to a reader but it is the honest thing to know: these are labeled as AI-generated at the file level. Disclose your AI visuals anyway.
Which model should you default to?
For most people, Nano Banana 2 (gemini-3.1-flash-image) is the right default. It is fast, it renders text well, it does 4K, and at roughly 7 cents for a 2K image it is cheap enough to iterate. Reach for Nano Banana Pro when a single asset really has to be right, like a featured image with a headline baked in, and accept that it costs about double and can be throttled harder. Save Lite for high-volume, low-stakes generation where 1K is fine and every fraction of a cent counts.
Frequently asked questions
Do I need an API key for Nano Banana?
Not on Vertex AI. You authenticate with your Google Cloud identity through Application Default Credentials, so a short-lived token from gcloud auth print-access-token is all you need. The Gemini API path does use an API key, and it is the simpler choice for a quick local prototype.
What is the difference between Nano Banana 2 and Nano Banana Pro?
Nano Banana 2 (gemini-3.1-flash-image) is the fast, general workhorse. Nano Banana Pro (gemini-3-pro-image) is the premium model with the strongest world knowledge, brand consistency, and text rendering. Pro costs more per image and is more likely to be rate limited.
Can Nano Banana render readable text in an image?
Yes, and this is the biggest upgrade over older models. The Gemini 3 image models produce legible, stylized text, which is why they are useful for infographics, menus, and marketing mockups.
What resolutions and aspect ratios are supported?
Output ranges from 512px to 4K. Nano Banana 2 supports common ratios like 1:1, 3:2, 4:3, 16:9, and 9:16, plus wide and tall extremes. You set both through the imageConfig block.
Are the images watermarked?
Yes. Every generated image includes a SynthID watermark, and Google also applies C2PA content credentials to mark it as AI-generated.
Wrapping up
Nano Banana image generation is one of the rare cases where the hype and the tool line up. The models are strong, the API is small, and on Vertex AI you can wire it into a script in an afternoon with no API key to manage. Start with Nano Banana 2, keep Pro in your back pocket for the images that have to sing, and let the machine draw your headers while you write.
Want more build-it-yourself guides like this one? Browse the rest of wcblog.in for hands-on posts on AI tooling and cloud automation.