
If you prefer to use MongoDB in the cloud instead of running it locally, MongoDB Atlas is the perfect solution. MongoDB Atlas is a fully managed, cloud-based database service offered by MongoDB. Here’s how you can create a database in MongoDB Atlas step by step:
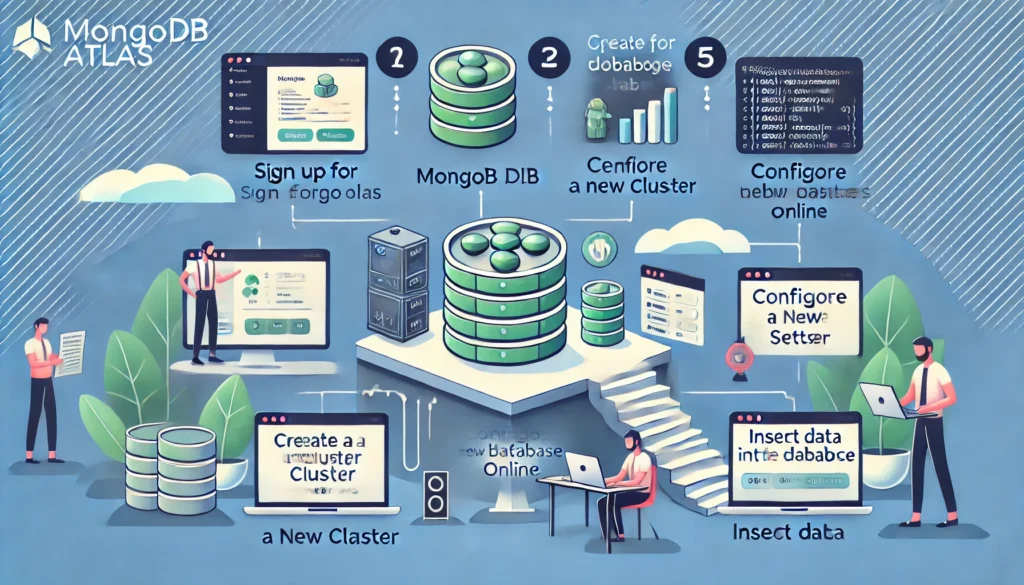
Step 1: Sign Up for MongoDB Atlas
- Go to the MongoDB Atlas website.
- Create an account using your email or sign up with Google or GitHub.

Step 2: Create a New Cluster
- After signing in, click on the “Create Cluster” button.
- Pick the free tier option (shared cluster), which is sufficient for small projects or learning purposes.
- Choose your preferred cloud provider (AWS, Google Cloud, or Azure).
- Select a region for your cluster. For better performance, choose a region closest to your application or users.
- Click “Create deployment” and wait for the cluster to be set up (this might take a few minutes).

Step 3: Connect to the Cluster
- Go to the Clusters section and click “Connect” next to your cluster.
- Create a username and password. These will be used to connect to your database.

3. Choose “Connect Your Application” for connection via a programming language (e.g., Node.js, Python).

4. Copy the connection string. It will look something like this: mongodb+srv://<username>:<password>@cluster0.mongodb.net/<dbname>

Step 4: Configure Network Access
- Go to the Network Access section in the left-hand menu.

2. Click “Add IP Address”.

3. To allow access from anywhere, select “Allow Access from Anywhere” or enter your specific IP address.

4. Click “Confirm” to save the changes.
Step 5: Create a Database
- Using MongoDB Atlas GUI:
- Go to the Collections tab under your cluster.

Click “Add My Own Data”.

Enter your database name and collection name.

Click “Create” to finalize.
- Using a Programming Language (e.g., Python or Node.js):
- Install the MongoDB driver for your language:
- For Node.js:
npm install mongodb
- For Node.js:
- Connect to the database using the connection string:
const { MongoClient } = require('mongodb');const uri = "mongodb+srv://<username>:<password>@cluster0.mongodb.net/<dbname>;const client = new MongoClient(uri);async function run() {
try {
await client.connect();
console.log("Connected to MongoDB!");
const db = client.db("<dbname>");
await db.collection("myCollection").insertOne({ name: "John Doe", age: 30 });
console.log("Data inserted!");}finally {await client.close();} }run().catch(console.dir); - Replace
<username>,<password>, and<dbname>with your details.
- Install the MongoDB driver for your language:
Step 7: Verify the Database
- In the Collections tab on MongoDB Atlas, refresh to see your new database and its collections.
- If you’re using a programming language, you can query and verify your data with:
const data = await db.collection("myCollection").find({}).toArray(); console.log(data);
Step 8: Manage Your Database
MongoDB Atlas provides several tools to manage and monitor your database:
- Backup and Restore: Create automated backups for data safety.
- Performance Monitoring: Check real-time performance metrics.
- Scaling: Easily scale your cluster as your application grows.
Step 9: Delete the Database (Optional)
If you want to delete the database:
- Go to the Collections tab in your cluster.
- Click on the trash icon next to the collection you want to delete.
- Confirm the deletion.

